
Multifactor Auth with Firebase (2FA)
How do you handle two-step verification (2FA) or multifactor authentication (MFA) in Firebase? Until recently, the answer was you can’t. Thankfully, in 2020 we can implement multifactor auth flows in Firebase with Google Cloud Identity Platform. The following tutorial demonstrates an optional multifactor auth flow that works like this…
- Sign up with email/password and require email verification.
- Opt-in to MFA and register phone number(s).
- Attempt login from a new device. Verify SMS text code verification.
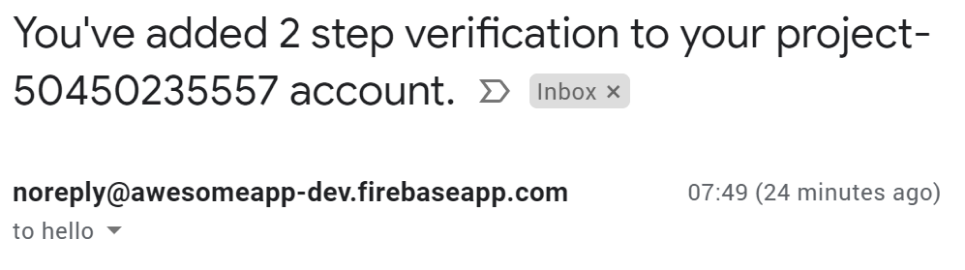
Actual SMS text and 2FA confirmation email from Firebase
Get Started
Identity Platform
Enable the Google Cloud Identity Platform from the console. You should have email/password and phone auth enabled.
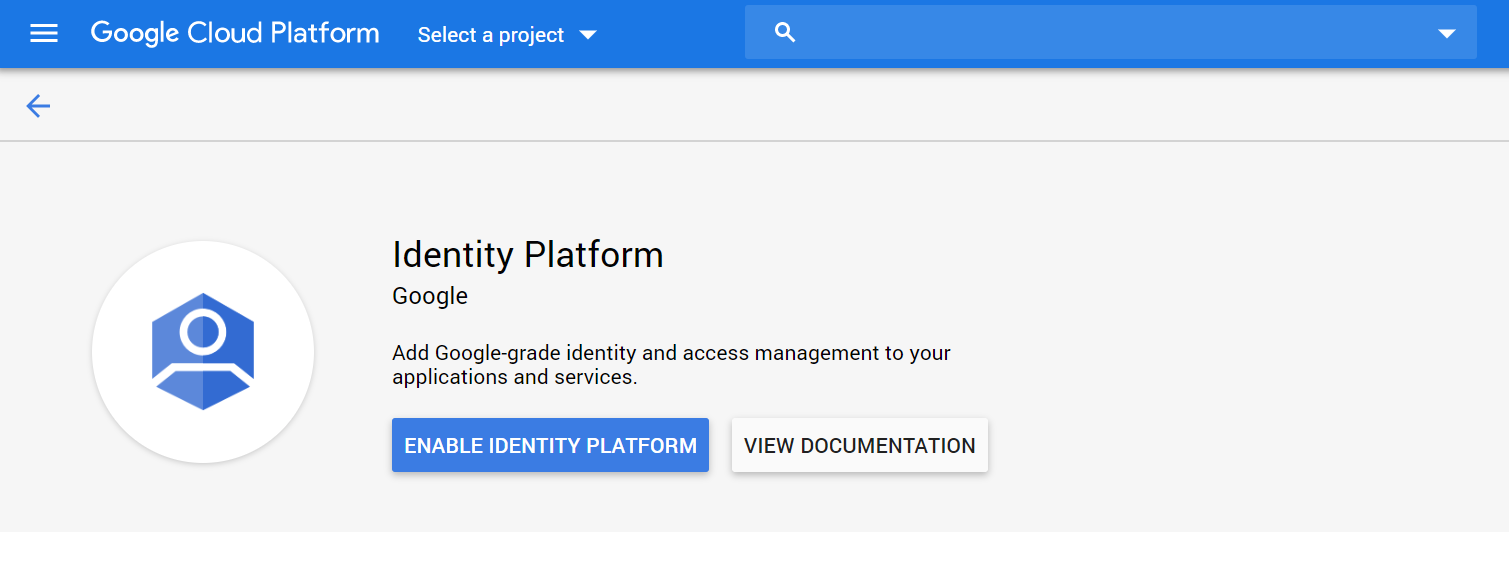
Enable Identity Platform on Google cloud
If you have an existing Firebase project, it should automatically sync your existing auth methods. Also, you must be on a paid billing plan to use this service (the Spark Plan will not cut it).
JavaScript Project
This tutorial uses vanilla JavaScript to demonstrate the steps simply, so they can be be ported to any frontend framework. Start by initializing the SDK, then listening to the current user’s auth state. Reference the full source code.
import firebase from 'firebase/app';
import 'firebase/auth';

firebase.initializeApp({
    // your config
});
const auth = firebase.auth();

// Listen to the auth state, log enrolled factors for debugging
auth.onAuthStateChanged(user => {
  if (user) {
   console.log(user.multiFactor.enrolledFactors)
  } else {
    console.log('signed out')
  }
})
Part 0: Captcha Verification
On the web, you must first verify a captcha before sending an SMS text from Google to prevent spam. The modern user-friendly approach is to run an invisible captcha in the background.
Solve an Invisible Captcha
Set the captcha as state in your JS app - it will be needed later.
window.recaptchaVerifier = new firebase.auth.RecaptchaVerifier('2fa-captcha', {
  size: 'invisible',
  callback: (response) => console.log('captcha solved!', response),
});
Point it to an empty div in the HTML.
<div id="2fa-captcha"></div>
Part 1: Sign Up
A user must verify their email before setting up 2FA. Note: If you use Google SignIn (or any social provider), the email should be verified automatically.
Password Signup with Email Verification
Start with an HTML form. Replace the email address with an account you have access to.
<input id="signup-email" value="hello@fireship.io">
<input id="signup-password" value="somepassword">

<button id="signup-button">Sign Up as New User</button>
const signupBtn = document.getElementById('signup-button');

signupBtn.onclick = async () => {
  const email = document.getElementById('signup-email').value;
  const password = document.getElementById('signup-password').value;

  const credential = await auth.createUserWithEmailAndPassword(email, password);
  await credential.user.sendEmailVerification();

  alert('check your email!');
};
Part 2: Register a Phone as a Secondary Factor
At this point, the user is signed in and ready to enroll in a second factor. Usually, it is an optional security feature recommended to the user, but you might also require it immediately upon signup.
The user will stay logged in after enrolling the second factor, but future logins will require SMS verification.
2a Register a Phone Number
Make a request to register a phone number for MFA. It must be in E164 format before making the request to Firebase. Calling verifyPhoneNumber tells Google to send an SMS text to the user and returns a verificationId the you can use validate the code in the next step.
<input id="enroll-phone" value="+15555555555">

<button id="enroll-button">Enroll</button>
const enrollBtn = document.getElementById('enroll-button');

enrollBtn.onclick = async () => {
  const phoneNumber = document.getElementById('enroll-phone').value;

  const user = auth.currentUser;

  const session = await user.multiFactor.getSession();

  const phoneOpts = {
    phoneNumber,
    session,
  };

  const phoneAuthProvider = new firebase.auth.PhoneAuthProvider();

  window.verificationId = await phoneAuthProvider.verifyPhoneNumber(
    phoneOpts,
    window.recaptchaVerifier
  );

  alert('sms text sent!');
};
2b Verify SMS Code
Next, require the user to verify the SMS code. Once verified, you can attach the multiFactorAssertion to the user record and give it a name - it represents a verified phone number for MFA. It is a good practice to allow the user to register phone numbers.
<input id="enroll-code" value="">
<button id="enroll-verify">Verify</button>
const verifyEnrollmentBtn = document.getElementById('enroll-verify');

verifyEnrollmentBtn.onclick = async () => {
  const code = document.getElementById('enroll-code').value;

  const cred = new firebase.auth.PhoneAuthProvider.credential(
    window.verificationId,
    code
  );

  const multiFactorAssertion = firebase.auth.PhoneMultiFactorGenerator.assertion(
    cred
  );

  const user = auth.currentUser;
  await user.multiFactor.enroll(multiFactorAssertion, 'phone number');

  alert('enrolled in MFA');
};
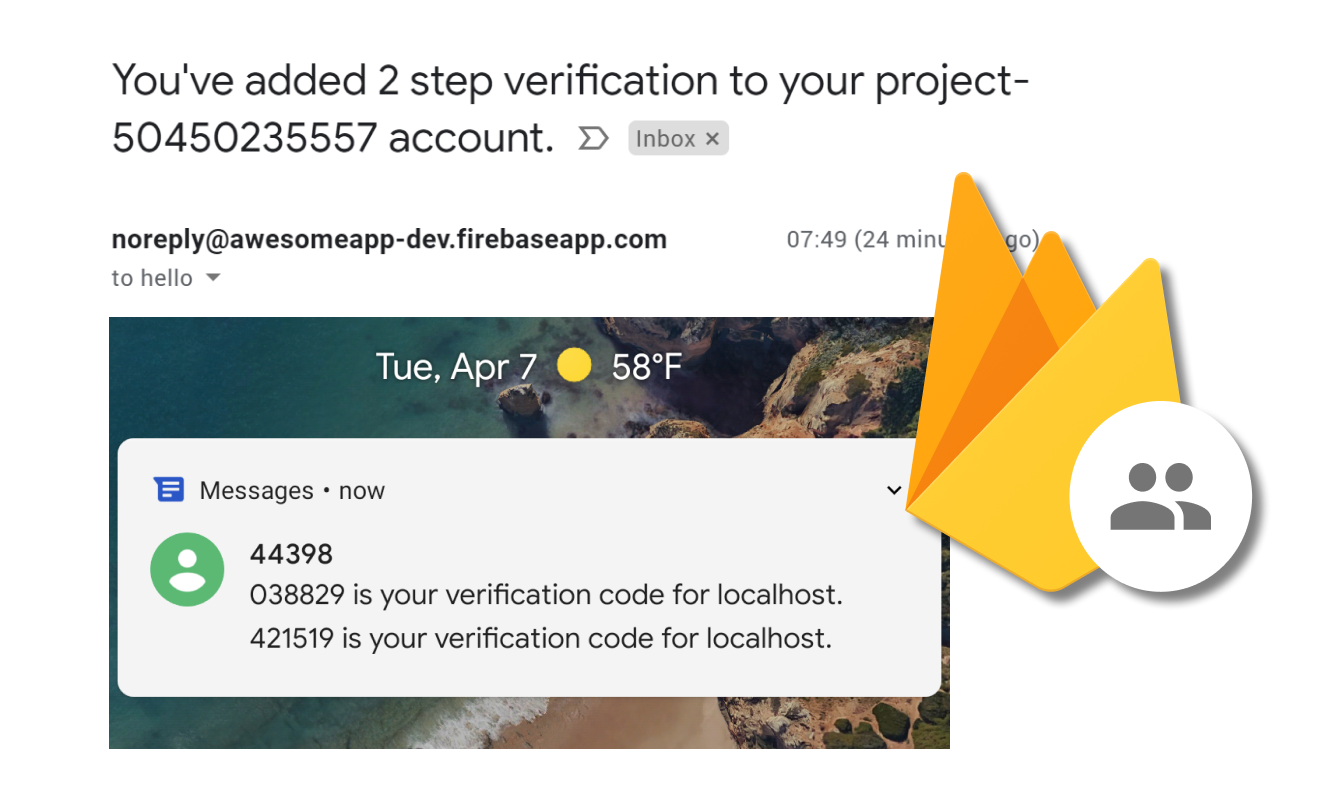
The user should get an email confirmation from your app, sent automatically by Firebase/Google, confirming 2-step verification is enabled.
2 step verification confirmation from Firebase
Part 3: Sign Out
This is the easy part. Sign out or attempt to login to the app from a different device.
signOutBtn.onclick = () => auth.signOut();
Part 4: Sign In with SMS Verification
Now that the user is enrolled in 2 step verification, they will be asked to confirm the SMS code when logging in from a new device.
4a Login with Password
Attempting to sign in will throw an error. We can catch the error and use the resolver to finish up the sign in process after the SMS code is verified.
<input id="login-email" value="you@example.com">
<input id="login-password" value="somepassword">
<button id="login-button">Login as Returning User</button>
// Step 4 - Login with MFA
const loginBtn = document.getElementById('login-button');
loginBtn.onclick = async () => {
  const email = document.getElementById('login-email').value;
  const password = document.getElementById('login-password').value;

  try {
    await auth.signInWithEmailAndPassword(email, password);
  } catch (err) {
    if (err.code === 'auth/multi-factor-auth-required') {
      // The user is enrolled in MFA, must be verified
      window.resolver = err.resolver;
    }
  }

  const phoneOpts = {
    multiFactorHint: window.resolver.hints[0],
    session: window.resolver.session,
  };

  const phoneAuthProvider = new firebase.auth.PhoneAuthProvider();

  window.verificationId = await phoneAuthProvider.verifyPhoneNumber(
    phoneOpts,
    window.recaptchaVerifier
  );

  alert('sms text sent!');
};
4b Verify Code and Use Resolver to Sign In
Keep the resolver as state in the application, then use it to finish signing in when the user submits the code.
<input  id="login-code">
<button id="login-verify">Verify</button>
const verifyLoginBtn = document.getElementById('login-verify');

verifyLoginBtn.onclick = async () => {
  const code = document.getElementById('login-code').value;

  const cred = new firebase.auth.PhoneAuthProvider.credential(
    window.verificationId,
    code
  );

  const multiFactorAssertion = firebase.auth.PhoneMultiFactorGenerator.assertion(
    cred
  );

  const credential = await window.resolver.resolveSignIn(multiFactorAssertion);

  console.log(credential);

  alert('logged in!');
};