
Angular Animations Examples
Animation is often the X-factor that sets remarkable apps apart from average apps. In this lesson, I provide five basic animation examples based on Angular 4.3+. This article covers the animation techniques I find most useful when building Angular apps, but check out this excellent post on new Angular 4.2 animation features for a more comprehensive look at the latest features.
All animations can be boiled down into two simple steps:
- Define on how an element should look in a certain state
- Define how it should transition between states
Angular uses the Web Animations API (WAAPI), which shares many similarities to CSS3 animations. WAAPI is fully production ready today because it ships with an advanced polyfill library to support most browsers.
Initial Setup
Angular Animations are kept in their own module, so we need to import them into the module where they will be used.
import { NgModule } from '@angular/core';
import { BrowserAnimationsModule } from '@angular/platform-browser/animations';

@NgModule({
  imports: [
    BrowserAnimationsModule
  ],
})
1. Basic Animation Two-State


animated popover
In this example, we create a simple popover component that the user can toggle with a button click. When active, it animates the opacity to 1, when inactive it’s opacity is 0.
You build Angular animations by giving them a name, then use them in the HTML by passing an expressions, such as ‘show’ or ‘hide’.
<span [@animationName]="stateOfElement">Content</span>
In the component TypeScript, you define the appearance of ‘show’ and ‘hide’, then define the timing for a transition between the states.
import { Component } from '@angular/core';

import {
  trigger,
  state,
  style,
  animate,
  transition
} from '@angular/animations';

@Component({
  selector: 'pop-over',
  templateUrl: './pop-over.component.html',
  styleUrls: ['./pop-over.component.scss'],
  animations: [
    trigger('popOverState', [
      state('show', style({
        opacity: 1
      })),
      state('hide',   style({
        opacity: 0
      })),
      transition('show => hide', animate('600ms ease-out')),
      transition('hide => show', animate('1000ms ease-in'))
    ])
  ]
})
export class PopOverComponent {

  show = false;

  constructor() { }

  get stateName() {
    return this.show ? 'show' : 'hide'
  }


  toggle() {
    this.show = !this.show;
  }

}
In the HTML, we can now apply this animation to a div and provide a button to toggle the state between show and hide.
<div [@popOverState]="stateName">
        <p>Hello! I'm a helpful message.</p>
</div>
<button (click)="toggle()">Toggle PopOver</button>
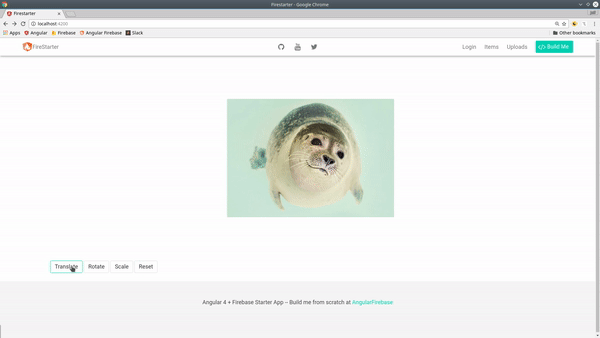
2. MultiState Animation
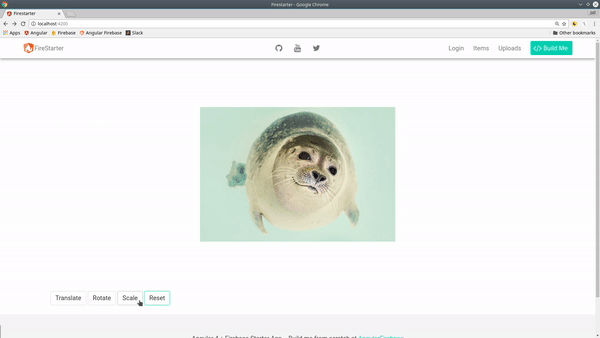
multi state animation
Now let’s build an animation that can move between multiple states. This will translate (move), rotate (spin), and scale (enlarge) the the image around the screen. Notice how I am using the wildcard transition `* => *` to apply the same transition settings to all states.
Note: The transitions on top will have higher priority, so always put the wildcard transitions on the bottom.
  animations: [
    trigger('photoState', [
      state('move', style({
        transform: 'translateX(-100%)',
      })),
      state('enlarge',   style({
        transform: 'scale(1.5)',
      })),
      state('spin',   style({
        transform: 'rotateY(180deg) rotateZ(90deg)',
      })),
      transition('* => *', animate('500ms ease')),
    ])
  ]
3. Keyframe Animation
keyframe animation
What if you want to control the intermediate steps in an animation? That’s where keyframes come in.
Every keyframe has an offset ranging from 0.0 to 1.0, which represents its position in time relative to the animation duration. If an animation runs for 1000ms, a keyframe offset of 0.25 is equivalent to 250ms.
Let’s build on the last example with keyframes.
  transition('* => move',
    animate('2000ms', keyframes([
      style({transform: 'translateX(0)    rotateY(0)',        offset: 0}),
      style({transform: 'translateX(50%)  rotateY(90deg)',    offset: 0.33}),
      style({transform: 'translateY(-75%) rotateY(180deg)',   offset: 0.66}),
      style({transform: 'translateX(-100%)',                  offset: 1.0})
    ])
  ))
4. Animation Callbacks
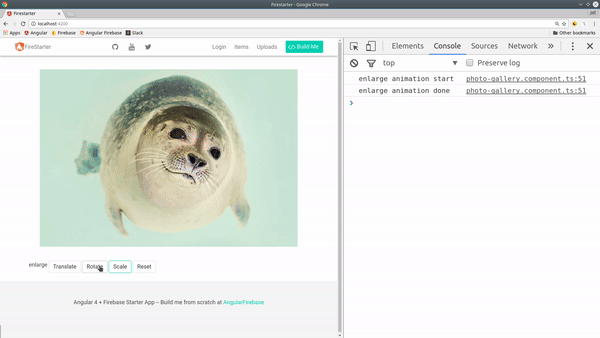
Sometimes you might want to trigger code when an animation is completed. In this example, we create an event handler to console log the animation start and done events.
  logAnimation($event) {
    console.log(`${this.position} animation ${$event.phaseName}`)
  }
In the template, we can fire the event handler when the animation sends of the start and done events.
  <img [src]="photoUrl"
      [@photoState]="position"
      (@photoState.start)="logAnimation($event)"
      (@photoState.done)="logAnimation($event)">
Callbacks are great for orchestrating a complex sequence of animations throughout your app.
5. Animating Lists
animated list with query and stagger in angular
A common UX feature is to sequentially animate a list of items. It would be cumbersome to define a bunch of delayed animations, which is the the problem solved by `query` and `stagger`. Query allows you select HTML elements within an animation, while stagger will build the delay interval based on the size of a collection. In this example, we query all `img` tags and translate them off the page, then animate them within `stagger` to automatically create the shutter-like effect.
animations: [
    trigger('photosAnimation', [
      transition('* => *', [
        query('img',style({ transform: 'translateX(-100%)'})),
        query('img',
          stagger('600ms', [
            animate('900ms', style({ transform: 'translateX(0)'}))
        ]))
      ])
    ])
  ]
In the HTML, we pass the length of the array to the animation, then loop over the images using *ngFor.
<div [@photosAnimation]="photos.length">
  <div *ngFor="let photo of photos">
      <img  [src]="photo" >
  </div>
</div>
That’s it for Angular animation basics, let me know if you want to see any specific animation examples in the comments.