
CSV Exports from Firestore
A common business requirement for a professional app is to export data as comma separated values, or CSV format. Data formatted this way can be used by spreadsheet software like Microsoft Excel and Google Docs, but it can also be used as input to many popular machine learning libraries. It this lesson, I will show you how to export a Firestore collection in CSV format using Firebase Cloud Functions and a Storage Bucket.
How to Export CSV from a Firebase Cloud Function

Firestore data converted to CSV via background Cloud Function
Our goal is to export the orders collection into an excel spreadsheet. The user can generate reports by clicking a button and each one is timestamp’d and saved to a Firebase Storage bucket.
The data structure is very simple - my primary goal is to show you process of converting Firestore data to CSV.
ordersCollection (the data we want to report)
-- orderDoc

reportsCollection (the cloud function trigger)
-- reportDoc
And here’s how it works from the user perspective
- User clicks “generate CSV report button” in Angular which creates a new report document, initially set a status of processing.
- A loading spinner appears, the cloud function does its thing, then a link with download URL appears.
Dependencies
firebase init functions
cd functions

npm install fs-extra --save
npm install json2csv --save
npm install @google-cloud/storage --save
The fs-extra package is an extension for the NodeJS file system. It does one thing that is really helpful - it turns a file write operation into a Promise. The core Node file system uses callbacks, which becomes problematic in the cloud function promise chain.
To handle converting JS objects to CSV, I am using the json2csv package for node.
Firebase storage is not available in the admin SDK at the time of this article. Maybe this will change in the future, but for now, we can use the @google-cloud/storage package directly to interact with the storage bucket.
index.js
This is a fairly complex set of asynchronous events, so let’s break it down step by step.
- Make references to data locations in firestore and cloud storage.
- Query the entire orders collection
- Convert the snapshot to an array of objects, then convert to CSV.
- Write the file to cloud function tmp storage
- Upload the file to Firebase Cloud Storage
- Update the report document to complete in Firestore.
const functions = require('firebase-functions');
const admin = require('firebase-admin');
admin.initializeApp();

const fs = require('fs-extra')
const gcs = require('@google-cloud/storage')();

const path = require('path');
const os = require('os');

const json2csv = require('json2csv');


exports.createCSV = functions.firestore
    .document('reports/{reportId}')
    .onCreate(event => {

        // Step 1. Set main variables

        const reportId = event.params.reportId;
        const fileName = `reports/${reportId}.csv`;
        const tempFilePath = path.join(os.tmpdir(), fileName);

        // Reference report in Firestore
        const db = admin.firestore()
        const reportRef = db.collection('reports').doc(reportId)

        // Reference Storage Bucket
        const storage = gcs.bucket('YOUR_BUCKET_URL') // or set to env variable


        // Step 2. Query collection
        return db.collection('orders')
                 .get()
                 .then(querySnapshot => {

                    /// Step 3. Creates CSV file from with orders collection
                    const orders = []

                    // create array of order data
                    querySnapshot.forEach(doc => {
                        orders.push( doc.data() )
                    });


                    return json2csv({ data: orders });
                 })
                .then(csv => {
                    // Step 4. Write the file to cloud function tmp storage
                    return fs.outputFile(tempFilePath, csv);
                })
                .then(() => {
                    // Step 5. Upload the file to Firebase cloud storage
                    return storage.upload(tempFilePath, { destination: fileName })
                })
                .then(file => {
                    // Step 6. Update status to complete in Firestore

                    return reportRef.update({ status: 'complete' })
                })
                .catch(err => console.log(err) )

})
You should now see an uploaded report in Cloud Storage when the function is triggered.
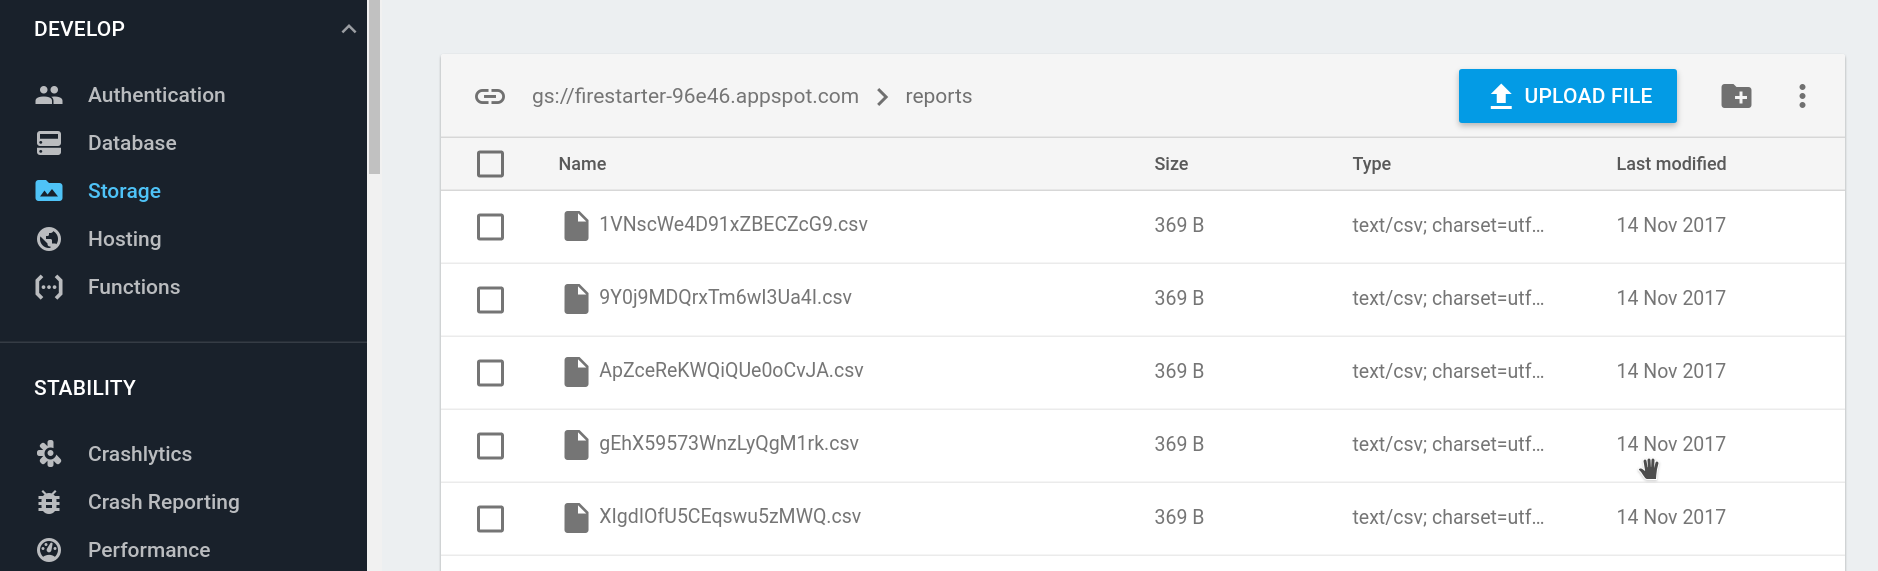
CSV file in storage bucket
Angular App
Now that we have a cloud function, let’s build an Angular app that can take advantage of it.
Note: I seeded the database with an orders collection for the purposes of this lesson. They just have a price, product, and image.
App Component
In the app component, I am looping over the orders (only for presentation purposes), then looping over the reports below them. The user can click a button to save a report, which puts the whole process into motion by invoking the function. A loading spinner is shown when the report status is processing.
import { Component, OnInit } from '@angular/core';
import { AngularFirestore, AngularFirestoreCollection } from 'angularfire2/firestore';
import { AngularFireAuth } from 'angularfire2/auth';
import { Observable } from 'rxjs/Observable';

@Component({
  selector: 'app-root',
  templateUrl: './app.component.html',
  styleUrls: ['./app.component.sass']
})
export class AppComponent implements OnInit {

  orders: Observable<any>;

  reportsRef: AngularFirestoreCollection<any>;
  reports: Observable<any>;

  constructor(private afs: AngularFirestore) { }

  ngOnInit() {
    this.orders = this.afs.collection('orders').valueChanges()
    this.reportsRef = this.afs.collection('reports')

    // Map the snapshot to include the document ID
    this.reports = this.reportsRef
      .snapshotChanges().map(arr => {
      return arr.map(snap => {
        const data = snap.payload.doc.data()
        const id = snap.payload.doc.id
        return { ...data, id }
      })
    })
  }


  // Creates new report, triggering FCF
  requestReport() {
    const data = {
      status: 'processing',
      createdAt: new Date()
    }
    this.reportsRef.add(data)
  }

}
In the HTML, we just loop over the report observable and create button for the user to generate the report.
<button (click)="requestReport()">
  Generate CSV Report
</button>


<div *ngFor="let report of reports | async">

  <report-link [report]="report"></report-link>

</div>
ReportLink Component
ng generate component report-link
You may be wondering how we get the report’s download URL from the Firebase storage bucket.
We could save the URL directly to Firestore, but that’s not entirely necessary. We can request the storage URL asynchronously with the getDownloadURL() method. This approach ensures that the download URL is always fresh. The method returns a promise, but I have converted it to an Observable to make it more Angular-ish.
Consider moving the firebase SDK import and the link code to an Angular service to make this code reusable.
import { Component, OnInit, Input } from '@angular/core';
import * as firebase from 'firebase';
import { Observable } from 'rxjs/Observable';

@Component({
  selector: 'report-link',
  templateUrl: './report-link.component.html',
  styleUrls: ['./report-link.component.sass'],
})
export class ReportLinkComponent implements OnInit {

  @Input() report: any;
  downloadUrl: Observable<string>;

  constructor() { }

  ngOnInit() {
    const reportRef = firebase.storage().ref(`reports/${this.report.id}.csv`);
    const promise = reportRef.getDownloadURL()

    this.downloadUrl = Observable.fromPromise(promise)
  }

}
Now we can simply set the link href as the unwrapped observable download URL.
<a class="button is-info"
  [class.is-loading]="report.status === 'processing'"
  [href]="downloadUrl | async" download>
  Download Report {{ report.id }}
</a>
The End
This method can be used to format all sorts of different reports beyond CSV. You could use a similar pattern with a libraries like PDFKit or OfficeGen to create other non-web-friendly documents.