
Flutter File Uploads
Camera apps are one of the most popular niches in the market, with the recent viral growth of FaceApp being a prime example. There are a variety of plugins for Flutter that make camera-based features easy to develop, and when combined with Firebase the results can be easily uploaded your backend cloud infrastructure. The following lesson demonstrates the following features:
- Capture images from the device camera or image gallery.
- Crop, rotate, and resize an image file.
- Upload files to a Cloud Storage bucket and show a visual progress indicator.
Demo of Flutter image cropper and Firebase Cloud Storage file uploads
Initial Setup
Before starting this tutorial, you must have Firebase installed and configured in your app for iOS and Android.
- Install FlutterFire
Dependencies
The Firebase packages required for file uploads include Core and Storage. You may also want to include Firestore and Auth if you plan on associating uploaded files to a user.
dependencies:
  flutter:
    sdk: flutter

  firebase_core: 0.4.0+8
  firebase_storage: 3.0.4

  image_cropper: 1.0.2
  image_picker: 0.6.0+17
In addition to Firebase Storage, this lesson depends on image_cropper and image_picker. Keep in mind, these packages are unrelated to file uploads, but are extremely useful when capturing user-generated images. Follow the install instructions on their official documentation for platform-specific iOS and Android requirements.
import 'dart:io';
import 'package:flutter/material.dart';
import 'package:firebase_storage/firebase_storage.dart';
import 'package:flutter/widgets.dart';
import 'package:image_cropper/image_cropper.dart';
import 'package:image_picker/image_picker.dart';

void main() async {
  runApp(MyApp());
}

class MyApp extends StatelessWidget {
  @override
  Widget build(BuildContext context) {
    return MaterialApp(
      home: ImageCapture(),
    );
  }
}
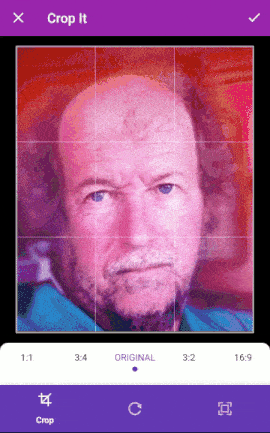
Image Capture and Crop
The widget below is responsible for capturing an image file from the device, either via the camera or the photo gallery. Once a file is selected, a preview will be shown in the UI and the user can crop, resize, or rotate the raw Dart File. The image_cropper plugin does all the heavy lifting for the image manipulation, so we gain a ton of functionality with minimal code.
Image Capture Widget
Both _pickImage and _cropImage are async methods that update the state of the widget with an image file. If the image is defined, the app displays a visual preview with the Image widget and provides buttons to crop or clear it.
Notice how the file is being passed down to Uploader. This is a custom widget defined in the next section to manage the file upload task.
/// Widget to capture and crop the image
class ImageCapture extends StatefulWidget {
  createState() => _ImageCaptureState();
}

class _ImageCaptureState extends State<ImageCapture> {
  /// Active image file
  File _imageFile;

  /// Cropper plugin
  Future<void> _cropImage() async {
    File cropped = await ImageCropper.cropImage(
        sourcePath: _imageFile.path,
        // ratioX: 1.0,
        // ratioY: 1.0,
        // maxWidth: 512,
        // maxHeight: 512,
        toolbarColor: Colors.purple,
        toolbarWidgetColor: Colors.white,
        toolbarTitle: 'Crop It'
      );

    setState(() {
      _imageFile = cropped ?? _imageFile;
    });
  }

  /// Select an image via gallery or camera
  Future<void> _pickImage(ImageSource source) async {
    File selected = await ImagePicker.pickImage(source: source);

    setState(() {
      _imageFile = selected;
    });
  }

  /// Remove image
  void _clear() {
    setState(() => _imageFile = null);
  }

  @override
  Widget build(BuildContext context) {
    return Scaffold(

      // Select an image from the camera or gallery
      bottomNavigationBar: BottomAppBar(
        child: Row(
          children: <Widget>[
            IconButton(
              icon: Icon(Icons.photo_camera),
              onPressed: () => _pickImage(ImageSource.camera),
            ),
            IconButton(
              icon: Icon(Icons.photo_library),
              onPressed: () => _pickImage(ImageSource.gallery),
            ),
          ],
        ),
      ),

      // Preview the image and crop it
      body: ListView(
        children: <Widget>[
          if (_imageFile != null) ...[

            Image.file(_imageFile),

            Row(
              children: <Widget>[
                FlatButton(
                  child: Icon(Icons.crop),
                  onPressed: _cropImage,
                ),
                FlatButton(
                  child: Icon(Icons.refresh),
                  onPressed: _clear,
                ),
              ],
            ),

            Uploader(file: _imageFile)
          ]
        ],
      ),
    );
  }
}
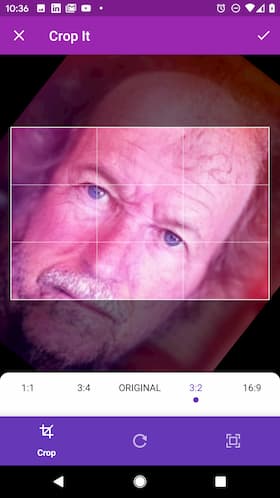
You should now be able to capture, preview, and crop an image in your Flutter app
Upload to Firebase Storage
In this section, the File object will be uploaded to a Firebase Cloud Storage bucket. The user can pause or cancel the upload task at any point, which is a useful feature when handling large files and/or users on slow networks. In addition, the widget monitors the upload progress and displays the percentage of bytes transferred using the LinearProgressIndicator.
Uploader Widget
When you create a StorageUploadTask it will immediately start uploading the file to storage. The task exposes a stream that emits a StorageTaskEvent containing metadata about the upload, such as bytes-transferred, which can be used to calculate the value of a progress indicator.
You can also obtain the current state of the upload with boolean task.isComplete or task.isInProgress and so on.
class _UploaderState extends State<Uploader> {
  final FirebaseStorage _storage =
      FirebaseStorage(storageBucket: 'gs://fireship-lessons.appspot.com');

  StorageUploadTask _uploadTask;

  /// Starts an upload task
  void _startUpload() {

    /// Unique file name for the file
    String filePath = 'images/${DateTime.now()}.png';

    setState(() {
      _uploadTask = _storage.ref().child(filePath).putFile(widget.file);
    });
  }

  @override
  Widget build(BuildContext context) {
    if (_uploadTask != null) {

      /// Manage the task state and event subscription with a StreamBuilder
      return StreamBuilder<StorageTaskEvent>(
          stream: _uploadTask.events,
          builder: (_, snapshot) {
            var event = snapshot?.data?.snapshot;

            double progressPercent = event != null
                ? event.bytesTransferred / event.totalByteCount
                : 0;

            return Column(

                children: [
                  if (_uploadTask.isComplete)
                    Text('🎉🎉🎉'),


                  if (_uploadTask.isPaused)
                    FlatButton(
                      child: Icon(Icons.play_arrow),
                      onPressed: _uploadTask.resume,
                    ),

                  if (_uploadTask.isInProgress)
                    FlatButton(
                      child: Icon(Icons.pause),
                      onPressed: _uploadTask.pause,
                    ),

                  // Progress bar
                  LinearProgressIndicator(value: progressPercent),
                  Text(
                    '${(progressPercent * 100).toStringAsFixed(2)} % '
                  ),
                ],
              );
          });


    } else {

      // Allows user to decide when to start the upload
      return FlatButton.icon(
          label: Text('Upload to Firebase'),
          icon: Icon(Icons.cloud_upload),
          onPressed: _startUpload,
        );

    }
  }
}
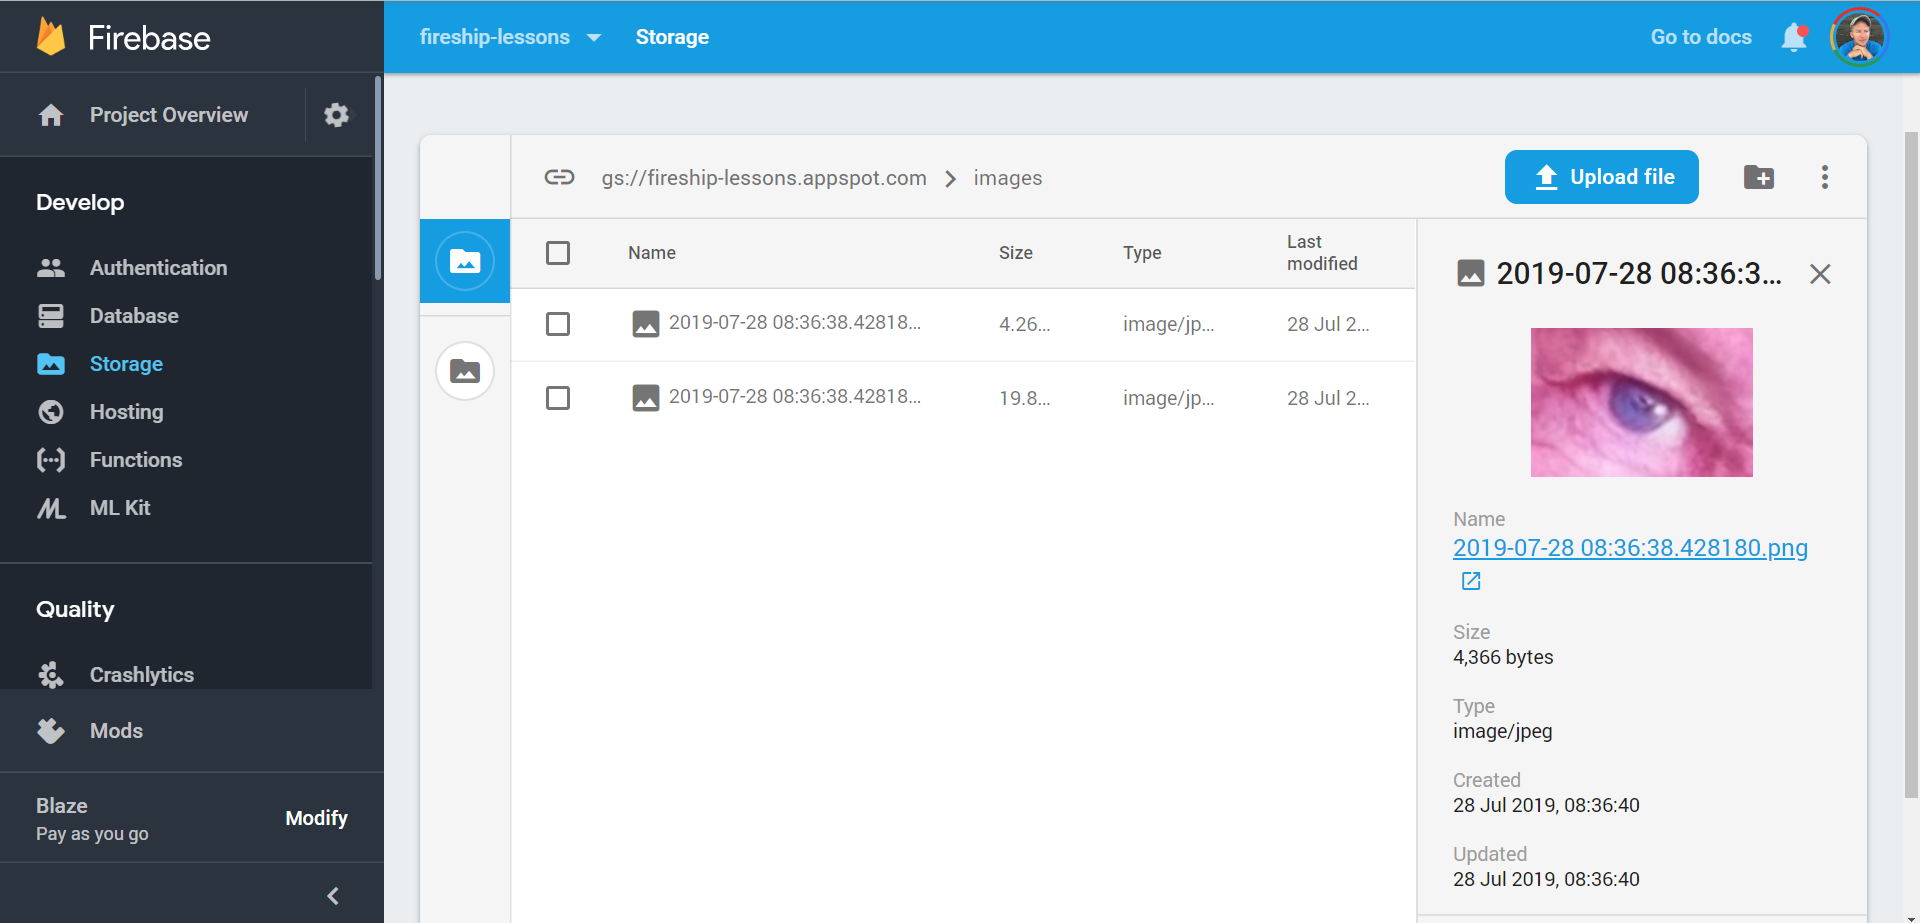
You should be able to view the end result in Firebase Cloud Storage when the upload is complete
Bonus Video
In certain cases, you may want to convert an image to multiple formats after uploading. Watch the video below for a fill demo of this feature with Firebase Cloud Functions.