
Game Lobby with ReactFire
The following tutorial builds a simple game matchmaking feature from scratch, allowing users to login, join a game lobby, and set their status as “ready” or “not ready”. Our learning goal is to get familiar with React’s new Concurrent Mode features and Firebase’s ReactFire package - both of which are brand new tools in 2020.
In order to follow along, developers should have some prior experience with React, Firebase, and Firestore. You must have a Firebase project with Firestore and Sign in with Google enabled to work with your own live data.
⚠️ Warning: At the time of creation, React Concurrent Mode is marked as experimental and is not suitable for production applications.
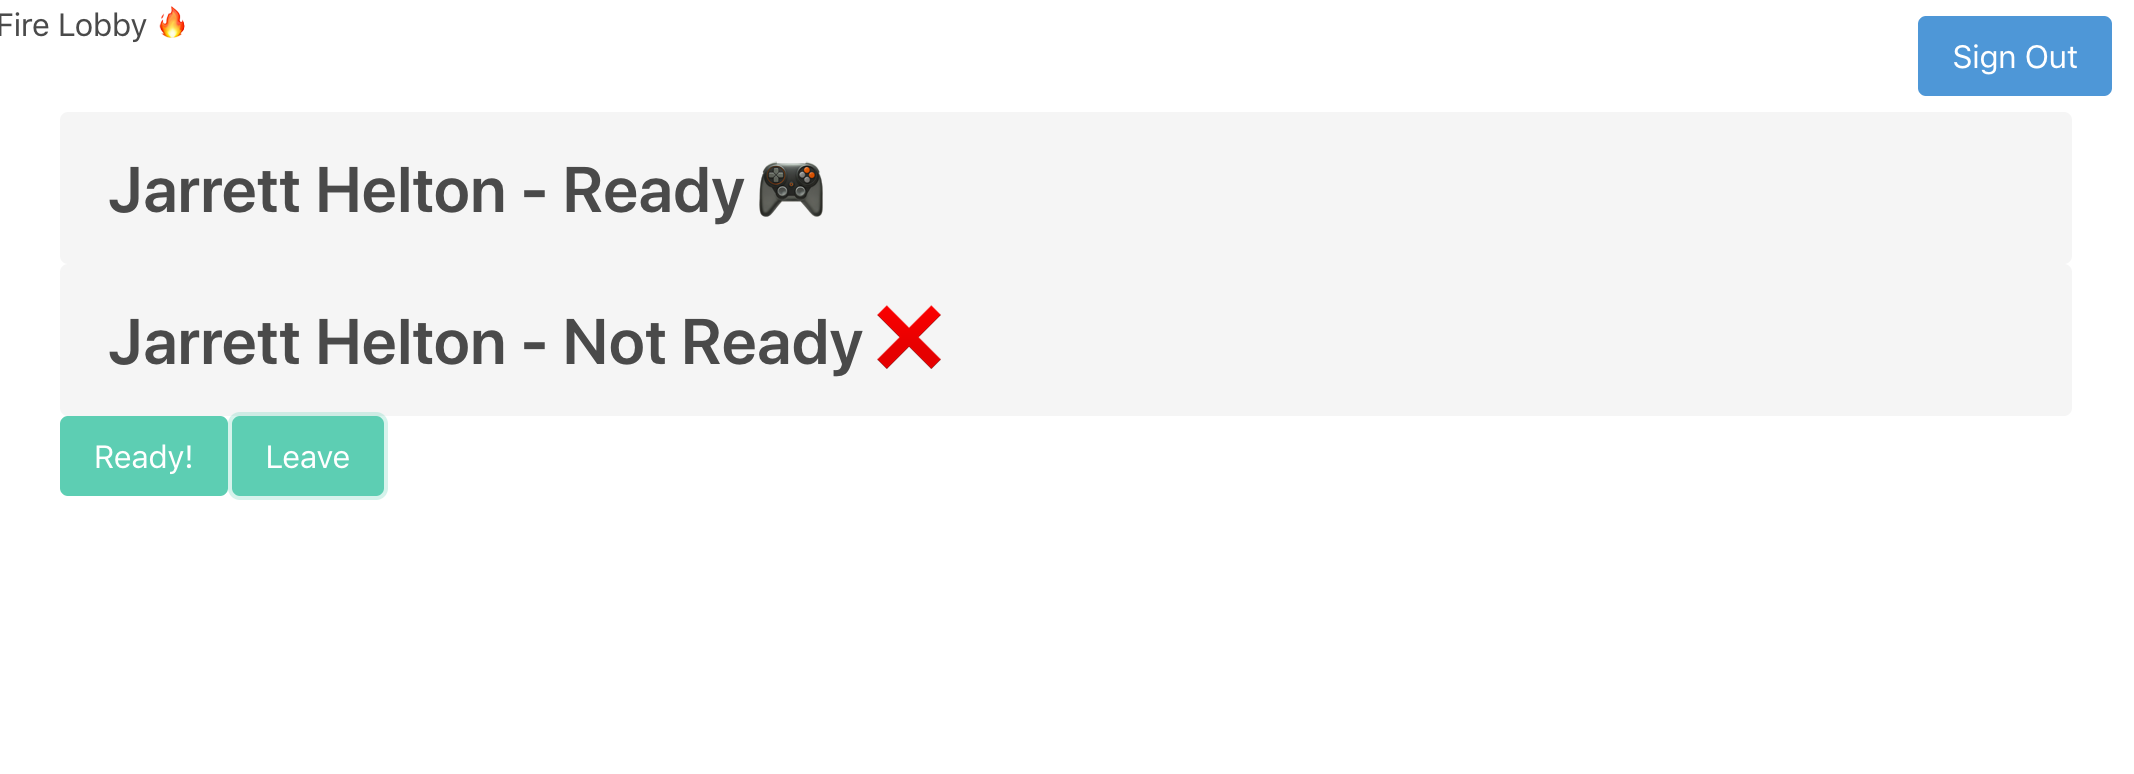
Demo of the final game lobby result
Initial Setup
1. Generate a new React application
This can also be seen on the Reactfire quickstart guide. Prerequisite: make sure you have Node.js installed.
npx create-react-app firelobby
cd firelobby

npm start
Install React Experimental Build
npm install react@experimental react-dom@experimental
2. Install ReactFire
Install the Firebase SDK and ReactFire, and optionally add Bulma for better UI styling.
npm install firebase reactfire bulma
3. Enable React Concurrent Mode
Concurrent Mode is a set of new features that help React apps stay responsive and gracefully adjust to the user’s device capabilities and network speed.
You are free to delete everything in the ./src directory except index.js.
In order to enable concurrent mode we must modify the way the React application is initialized. Concurrent mode makes use of createRoot from react-dom.
import 'bulma/css/bulma.css';

import React from 'react';
import { createRoot } from 'react-dom';

function App() {
  return <div>Hello World!</div>;
}
createRoot(document.getElementById('root')).render(<App />);
Using createRoot, React will render your Application on the element with the root id in ./public/index.html which was generated with create-react-app.
Firebase Users with React Suspense
4. Create the FirebaseConfigProvider
Reactfire makes strong use of the React Context and Hooks API in order to provide reusable features of the firebase API. FirebaseAppProvider is a React Provider that will provide the firebase config to the component tree.
Create a firebase config in index.js and surround our application with the FirebaseAppProvider component
// Omitted

import { FirebaseAppProvider } from 'reactfire';

const firebaseConfig = {
  // Retrieved from the firebase console
};

function App() {
  return (
    <FirebaseAppProvider firebaseConfig={firebaseConfig}>
      <div>Hello World!</div>
    </FirebaseAppProvider>
  );
}
// Omitted
Now our component tree within FirebaseAppProvider will have access to the hooks created in ReactFire.
5. Authentication
First, we will create an AuthenticationButtons component that will be responsible for enabling users to sign-in and sign-out of the application.
import firebase from 'firebase/app';

import React from 'react';
import { createRoot } from 'react-dom';
import { AuthCheck, FirebaseAppProvider, useAuth } from 'reactfire';

// Omitted

function AuthenticationButtons() {
  const auth = useAuth();
  const signIn = async () => {
    await auth.signInWithPopup(new firebase.auth.GoogleAuthProvider());
  };
  const signOut = async () => {
    await auth.signOut();
  };
  // When authenticated, show the Sign out button, else Sign in
  return (
    <AuthCheck
      fallback={
        <button className='button is-primary' onClick={signIn}>
          Sign In
        </button>
      }
    >
      <button className='button is-info' onClick={signOut}>
        Sign Out
      </button>
    </AuthCheck>
  );
}
// Omitted
useAuth is a hook provided by ReactFire which, when called within FirebaseAppProvider, will lazy load the Auth feature from Firebase.
AuthCheck is a component that will render its children whenever the user is authenticated, otherwise it will render JSX passed into the fallback prop. This is the same pattern used by the React Concurrent mode feature called Suspense, which will be used momentarily.
Next, we will add our new component to a navbar and add that navbar to the main App function.
// Omitted

function Navbar() {
  return (
    <nav className='navbar'>
      <div className='navbar-brand'>Fire Lobby 🔥</div>
      <div className='navbar-menu'>
        <div className='navbar-start'></div>
        <div className='navbar-end'>
          <div className='navbar-item'>
            <div className='buttons'>
              <AuthenticationButtons />
            </div>
          </div>
        </div>
      </div>
    </nav>
  );
}

// Omitted
Add the navbar to the App.
function App() {
  return (
    <FirebaseAppProvider firebaseConfig={firebaseConfig}>
      <Navbar />
      <div>Hello World!</div>
    </FirebaseAppProvider>
  );
}

// Omitted
Now run the app with npm start. The application should fail to render, throwing this error in the console.
Uncaught Error: AuthenticationButtons suspended while rendering, but no fallback UI was specified.

Add a <Suspense fallback=...> component higher in the tree to provide a loading indicator or placeholder to display.
6. Suspense
Arguably one of the more exciting features of React’s Concurrent Mode is Suspense.
Disclaimer, there are a lot of nuances and concepts behind Concurrent Mode and Suspense that are not exclusive to React and could be considered advanced topics. I highly recommend this article and the React Suspense presentation linked within it.
ReactFire uses the Suspense API in order to make “contracts” with React to provided an asynchronous friendly experience.
Suspense allows developers to easily specify a “loading” state while waiting on asynchronous tasks. In other words, when we have an action that is considered “blocking”, such as a request for data, we must provide a “non-blocking” version. This non-blocking version is called a “fallback” in Suspense.
The error above tells us that the AuthenticationButtons component was suspended (or “blocked”) while rendering and that a fallback (or “non-blocking” path) was not provided.
We will add Suspense with a fallback to our component tree.
import React, { Suspense } from 'react';

// Omitted

function App() {
  return (
    <FirebaseAppProvider firebaseConfig={firebaseConfig}>
      <Suspense fallback={<p>Loading...</p>}>
        <Navbar />
        <div>Hello World!</div>
      </Suspense>
    </FirebaseAppProvider>
  );
}

// Omitted
The application should start and allow a user to login and logout.
7. SuspenseWithPerf
ReactFire provides an abstraction of Firebase Performance with the SuspenseWithPerf component.
SuspenseWithPerf starts a Firebase Performance Monitoring trace and ends it when suspense stops suspending.
// Omitted

function App() {
  return (
    <FirebaseAppProvider firebaseConfig={firebaseConfig}>
      <SuspenseWithPerf fallback={<p>Loading...</p>} traceId={'loading-app-status'}>
        <Navbar />
        <div>Hello World!</div>
      </SuspenseWithPerf>
    </FirebaseAppProvider>
  );
}

// Omitted
Firestore Game Lobby
8. Firestore React Hooks
Our next challenge is to create a Firestore collection for the game lobby, then add and remove users.
Create a new function for the lobby and use ReactFire to subscribe to a document reference. It should also wrap our lobby component in an AuthCheck, like we did with the AuthenticationButtons component.
import {
  AuthCheck,
  FirebaseAppProvider,
  SuspenseWithPerf,
  useAuth,
  useFirestore,
  useFirestoreCollectionData
} from 'reactfire';

// Omitted

function Lobby() {
  const lobbyCollection = useFirestore().collection('lobby');
  const lobby = useFirestoreCollectionData(lobbyCollection);

  return (
    <div className='container is-fluid'>
      {lobby.map(m => {
        return (
          <article key={m.email} className='tile is-child notification'>
            <p className='title'>
              {m.displayName} - {m.ready ? 'Ready 🎮' : 'Not Ready ❌'}
            </p>
          </article>
        );
      })}
    </div>
  );
}

function App() {
  return (
    <FirebaseAppProvider firebaseConfig={firebaseConfig}>
      <SuspenseWithPerf fallback={<p>Loading...</p>} traceId={'loading-app-status'}>
        <Navbar />
        <AuthCheck fallback={<p>Not Logged In...</p>}>
          <Lobby></Lobby>
        </AuthCheck>
      </SuspenseWithPerf>
    </FirebaseAppProvider>
  );
}

// Omitted
useFirestore allows us to lazily load the firestore feature from firebase using the config provided by FirebaseAppProvider. This returns firebase.firestore.
useFirestoreCollectionData is a hook that allows components to subscribe to the changes within the firestore collection.
Once we create a subscription to the firestore collection, we map the list of documents to some UI for our component to render dynamically.
9. Update User Status in the Lobby
Now that we have a list of users in the lobby, it’s time to implement action buttons to join and leave the lobby, as well as a function to change the readiness of our user within the lobby. A variable is needed to determine if our user is currently in the lobby, which will determine which buttons we show and hide.
// Omitted

import {
  AuthCheck,
  FirebaseAppProvider,
  SuspenseWithPerf,
  useAuth,
  useFirestore,
  useFirestoreCollectionData,
  useUser
} from 'reactfire';

// Omitted

function Lobby() {
  const { email, displayName, uid } = useUser();
  const lobbyCollection = useFirestore().collection('lobby');
  const lobby = useFirestoreCollectionData(lobbyCollection);

  const userInLobby = lobby.find(m => m.email === email);

  const joinLobby = async () => {
    await lobbyCollection.doc(uid).set({ email, displayName, ready: false });
  };

  const leaveLobby = async () => {
    await lobbyCollection.doc(uid).delete();
  };

  const toggleReadiness = async newReadiness => {
    await lobbyCollection.doc(uid).set({ ready: newReadiness }, { merge: true });
  };

  return (
    <div className='container is-fluid'>
      {lobby.map(m => {
        return (
          <article key={m.email} className='tile is-child notification'>
            <p className='title'>
              {m.displayName} - {m.ready ? 'Ready 🎮' : 'Not Ready ❌'}
            </p>
          </article>
        );
      })}
      <div className='columns'>
        {userInLobby && (
          <div className='column is-1'>
            <button className='button is-primary' onClick={() => toggleReadiness(!userInLobby.ready)}>
              {userInLobby.ready ? 'Not Ready!' : 'Ready!'}
            </button>
          </div>
        )}
        <div className='column is-1'>
          {userInLobby ? (
            <button className='button is-primary' onClick={leaveLobby}>
              Leave
            </button>
          ) : (
            <button className='button is-primary' onClick={joinLobby}>
              Join
            </button>
          )}
        </div>
      </div>
    </div>
  );
}

// Omitted
useUser is the only new ReactFire method used here. It allows the component to subscribe to the authenticated user data in the firebase.auth feature.
It is now possible for a user to join and leave the lobby, as well as mark their status as “ready” or “not ready”, all while reliably handling blocking actions with non-blocking alternatives.
Extra Credit
10. Refactor using the Context API
In this extra step, we will refactor our methods and data for the lobby using the Context API. This is one way to centralize our lobby data and the methods for interacting with the lobby. This refactor would allow us to split our lobby component up without having to pass props down the tree.
First, we create a LobbyContext using createContext and a component to provide that context.
const LobbyContext = React.createContext();

function LobbyProvider(props) {
  const { email, displayName, uid } = useUser();
  const lobbyCollection = useFirestore().collection('lobby');
  const lobby = useFirestoreCollectionData(lobbyCollection);

  const userInLobby = lobby.find(m => m.email === email);

  const joinLobby = async () => {
    await lobbyCollection.doc(uid).set({ email, displayName, ready: false });
  };

  const leaveLobby = async () => {
    await lobbyCollection.doc(uid).delete();
  };

  const toggleReadiness = async newReadiness => {
    await lobbyCollection.doc(uid).set({ ready: newReadiness }, { merge: true });
  };

  return (
    <LobbyContext.Provider value={{ userInLobby, lobby, joinLobby, leaveLobby, toggleReadiness }}>
      {props.children}
    </LobbyContext.Provider>
  );
}
Next, we will use the useContext hook and split our lobby component into two components. Here, I have explored a different pattern for dynamically adding components to the LobbyActions component.
// Omitted

function Lobby() {
  const { lobby } = useContext(LobbyContext);

  return (
    <div className='container is-fluid'>
      {lobby.map(m => {
        return (
          <article key={m.email} className='tile is-child notification'>
            <p className='title'>
              {m.displayName} - {m.ready ? 'Ready 🎮' : 'Not Ready ❌'}
            </p>
          </article>
        );
      })}
    </div>
  );
}

function LobbyActions() {
  const { userInLobby, joinLobby, leaveLobby, toggleReadiness } = useContext(LobbyContext);
  const components = [];

  if (userInLobby) {
    components.push(
      <div key='readyButton' className='column is-1'>
        <button key='readyButton' className='button is-primary' onClick={() => toggleReadiness(!userInLobby.ready)}>
          {userInLobby.ready ? 'Not Ready!' : 'Ready!'}
        </button>
      </div>
    );
    components.push(
      <div key='leaveButton' className='column is-1'>
        <button className='button is-primary' onClick={leaveLobby}>
          Leave
        </button>
      </div>
    );
  } else {
    components.push(
      <div key='joinButton' className='column is-1'>
        <button className='button is-primary' onClick={joinLobby}>
          Join
        </button>
      </div>
    );
  }

  return (
    <div className='container is-fluid'>
      <div className='columns'>{components}</div>
    </div>
  );
}

// Omitted

function App() {
  return (
    <FirebaseAppProvider firebaseConfig={firebaseConfig}>
      <SuspenseWithPerf fallback={<p>Loading...</p>} traceId={'loading-app-status'}>
        <Navbar />
        <AuthCheck fallback={<p>Not Logged In...</p>}>
          <LobbyProvider>
            <Lobby></Lobby>
            <LobbyActions />
          </LobbyProvider>
        </AuthCheck>
      </SuspenseWithPerf>
    </FirebaseAppProvider>
  );
}

// Omitted
Previously, we used ternaries and expressions to determine what UI to render, but this refactoring creates a component array and conditionally adds JSX to the array - React’s rendering can be very flexible and powerful.
The End!
We have successfully built a small application using ReactFire and React’s experimental concurrent mode. Thanks to the React Hook API, all of the ReactFire hooks will cause our components to re-render whenever there are changes in the observable data from Firebase. There is no need to define logic in our components lifecycle hooks to trigger rendering.
I highly recommend checking our ReactFire’s API reference and exploring more ways to complete the above goals.