
Host a Website on Raspberry Pi
AWS recently banned Parler from it’s cloud platform, effectively destroying its 10M user app with the flick of a switch. Whether you agree or not, it was within Amazon’s legal rights to make this move.
Now imagine you’ve just been kicked off the cloud… where do you go? The Internet is still an open platform, but you’re faced with the ugly prospect of a reverse cloud migration back to on-prem physical servers.
The following tutorial demonstrates how to host a website from the Raspberry Pi 4. The RPi will serve the default webapp with NGINX, then make it available on the Internet via the network’s local router. It’s not going to scale like the Cloud, but you’ll learn how to turn this little piece of hardware into a real web server.
Getting Started
Raspberry Pi Setup
In order to follow along, you’ll need a Raspberry Pi. I am using the RPi 4, with 8Gb of RAM. I recommend purchasing it as a kit with all the necessary accessories.
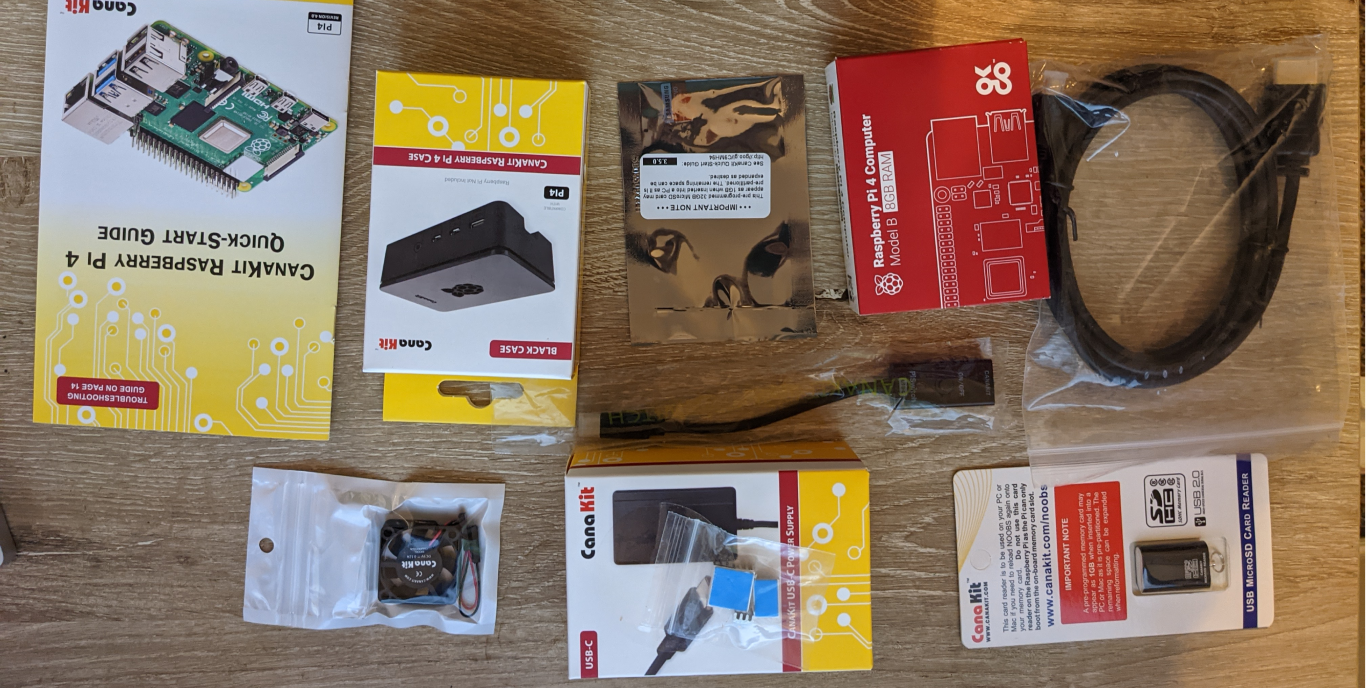
Popular Raspberry Pi kit
Setup your hardware and use the NOOBS to install the Raspberry Pi OS flavor of Linux.
Web App
NGINX Install
We’ll be using nginx to serve the app.
sudo apt update
sudo apt install nginx
sudo /etc/init.d/nginx start
Navigate to http://localhost.
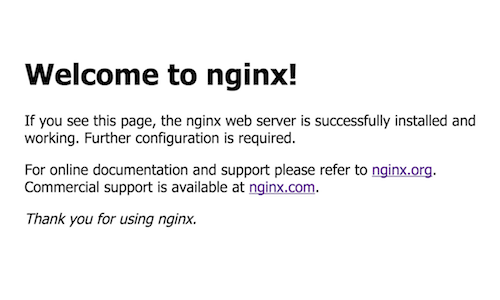
You should now see the nginx welcome screen
Get your Internal IP Address
You can also navigate to the site using your internal IP.
hostname -I

# 192.168.0.26
Connect to the Internet
We can view the app using our internal IP on the private network, but that’s not useful for people who want to access the website from the outside world or Internet. For that, we need to expose the app the Raspberry Pi’s external IP address.
Static IP
First, determine your external IP. In all likelihood, your Internet Service Provider (ISP) has given you a dynamic IP, which means it will change on a regular basis. This is not good for websites because it means the DNS will need to be updated whenever the IP changes. What we really need is a static IP - here are a few potential options:
Option 1 Call you ISP and request a static IP address. Some allow static IPs to be purchased online for business uses, but others may not allow it at all for residential locations.
Option 2 Use a service like NoIP. They take run a background program that checks your dynamic IP every 5 minutes, then updates the DNS when it changes.
Option 3 Use Ngrok to forward localhost to a URL, but keep in mind they can only support a small number of simultaneous connections.
Port Forwarding
In order to make the website available with the external IP, the router must be configured to allow outside traffic on port 80. The setup is entirely dependent on your router, so find instructions for your exact hardware.
The basic process will have you connect to the router via it’s IP (usually 192.168.0.1), then setup a forwarding rule for port 80.
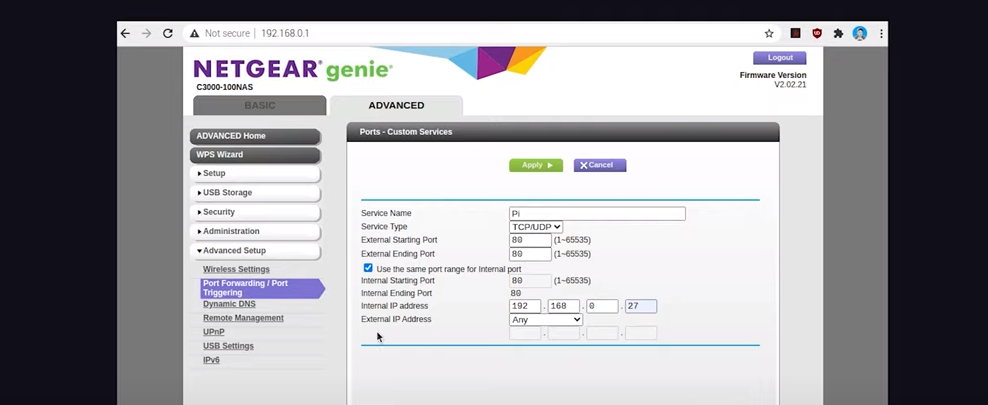
The port forwarding setup on a Netgear router
Advanced Tips
This tutorial is just for fun, but if you’re considering this approach in production here are a few additional RPi web hosting tips.
YouTube User Anunay:
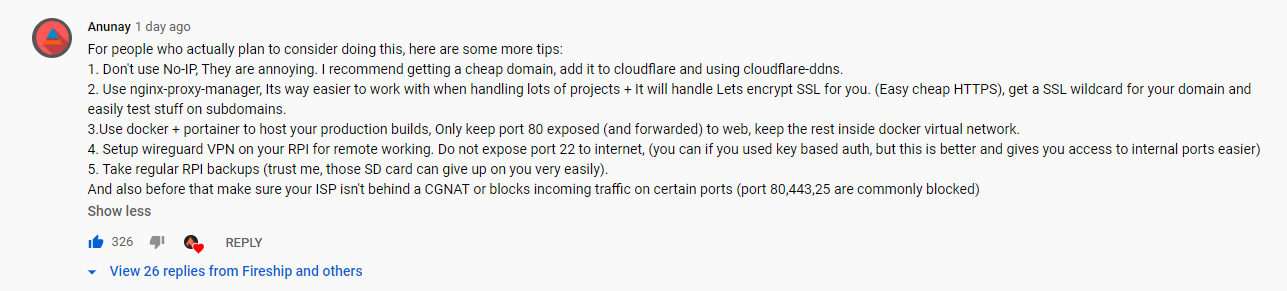
- Don’t use No-IP, They are annoying. I recommend getting a cheap domain, add it to cloudflare and using cloudflare-ddns.
- Use nginx-proxy-manager, Its way easier to work with when handling lots of projects + It will handle Lets encrypt SSL for you. (Easy cheap HTTPS), get a SSL wildcard for your domain and easily test stuff on subdomains. 3.Use docker + portainer to host your production builds, Only keep port 80 exposed (and forwarded) to web, keep the rest inside docker virtual network.
- Setup wireguard VPN on your RPI for remote working. Do not expose port 22 to internet, (you can if you used key based auth, but this is better and gives you access to internal ports easier)
- Take regular RPI backups (trust me, those SD card can give up on you very easily). And also before that make sure your ISP isn’t behind a CGNAT or blocks incoming traffic on certain ports (port 80,443,25 are commonly blocked)