
Angular SEO with Rendertron
⚠️ As of 2020, SEO and SSR in Angular is much-improved. Consider Angular Universal as your first option before this approach.
The single most common question I receive is How do I make Angular SEO friendly. Usually my answer is Well, it’s complicated… no more. Today I bring you a simple solution to this very important problem.
I am going to show you a novel SEO strategy to make an Angular5 (or any Progressive Web App for that matter) visible to search engine crawlers and social media link preview bots. If you’ve tried to make Angular2+ SEO friendly in the past, you might have experience working through server-side rendering (SSR) or Angular Universal tutorials that are either difficult to implement or simply do not work. I have never seen a working server side rendering solution with Angular and AngularFire2 (Firebase) - until now.
All of this magic is made possible via Headless Chrome and Rendertron - a web browser that runs on the server.
Full source code for [Angular SEO with Rendertron](https://github.com/AngularFirebase/E66-Angular-SEO-Rendertron) and the [Live Demo](https://instafire-app.firebaseapp.com/).
What are the benefits of this approach?
- Fully compatible all search crawlers.
- Fully compatible with Linkbots (Facebook/Twitter previews).
- Fully compatible with Firebase, AngularFire2, or any other data source.
- Easy to implement and test in an existing app.
- Does NOT require Angular Universal or any weird hacks.
What are the drawbacks?
- Requires a Rentertron instance to be deployed for production (Docker container).
- Performance hit on first page view (except the root URL).
- Potentially higher costs
- That’s all I could come up with…
I am happy to present you with the first-ever end-to-end Angular SEO tutorial that works for virtually any existing web app.

Valid Facebook links
Initial Setup
I am starting from a brand new Angular v5 app with the routing module. Using the Angular router is essential for SEO because bots need URLS and links to follow in your app.
ng new seoFriendlyApp --routing
The next step is to create a few components and load them with the router. Each component will have it’s own dynamically generated meta tags to be used by social media bots and search crawlers.
ng g component home-page
ng g component contact-page
ng g component about-page
ng g component firebase-demo
app.router.module
Your router should look something like this - typical Angular stuff:
import { NgModule } from '@angular/core';
import { Routes, RouterModule } from '@angular/router';

import { HomePageComponent } from './home-page/home-page.component';
import { AboutPageComponent } from './about-page/about-page.component';
import { ContactPageComponent } from './contact-page/contact-page.component';
import { FirebaseDemoComponent } from './firebase-demo/firebase-demo.component';

const routes: Routes = [
  { path: '', component: HomePageComponent, },
  { path: 'about-page', component: AboutPageComponent, },
  { path: 'contact-page', component: ContactPageComponent, },
  { path: 'firebase-page', component: FirebaseDemoComponent, }
];

@NgModule({
  imports: [RouterModule.forRoot(routes)],
  exports: [RouterModule]
})
export class AppRoutingModule { }
Optional - AngularFire2
I am also using AngularFire2 to show you that search friendly content is possible with Angular and asynchronous Firebase data. If you want to build the firebase component in this tutorial, follow the install instructions on the official repo first.
What is Rendertron and Headless Chrome?
I highly Recommend that you watch Sam Li’s Rendertron talk at Polymer Summit 2017.
Headless chrome is just a regular Chrome browser that runs on the server - it renders and serializes web pages but never displays them on a screen.
Rendertron is an app created by the Chrome team that uses headless browsing to render and serialize content from a URL. The app makes it easy to just point your server to a url, then get the rendered HTML page back as a string, along with all your linkbot meta tags and async firebase data included. When a bot navigates to your URL, it will:
- Wait for page load and async operations.
- Wait for network requests to complete (i.e. Firebase database).
- You can even send custom events to signal a complete load.
- Respond with the fully rendered page.
Deploy a Rendertron Container for Production
If you're just experimenting, you can skip this step and use the official Rendertron demo. It has no uptime guarantee and will not scale, but you're allowed to use it for fun. I will be using it throughout the tutorial.
If you’re using Rendertron SSR for production, you will need to deploy your own instance of the app to have control over scaling and ensure guaranteed uptime. It’s a Dockerized package, which makes it very easy to deploy to Google App Engine or AWS.
On my local system, I had issues installing the NPM package directly. I was able to get a working version with Docker with the following steps (Keep in mind, Rendertron is a cutting edge package, so things may have changed by the time you read this).
First, install Docker. The steps vary based on your OS.
Next, run these commands from the root of your Angular project or in a separate directory if you want to treat it as a standalone project. It will take a few minutes to build the container.
git clone https://github.com/GoogleChrome/rendertron.git server
cd server

docker build -t rendertron . --no-cache=true

docker run -it -p 8080:8080 --name rendertron-container rendertron
If you run into errors at this point, head to the [official docs](https://github.com/GoogleChrome/rendertron#connection-error-econnrefused) trouble shooting commands.
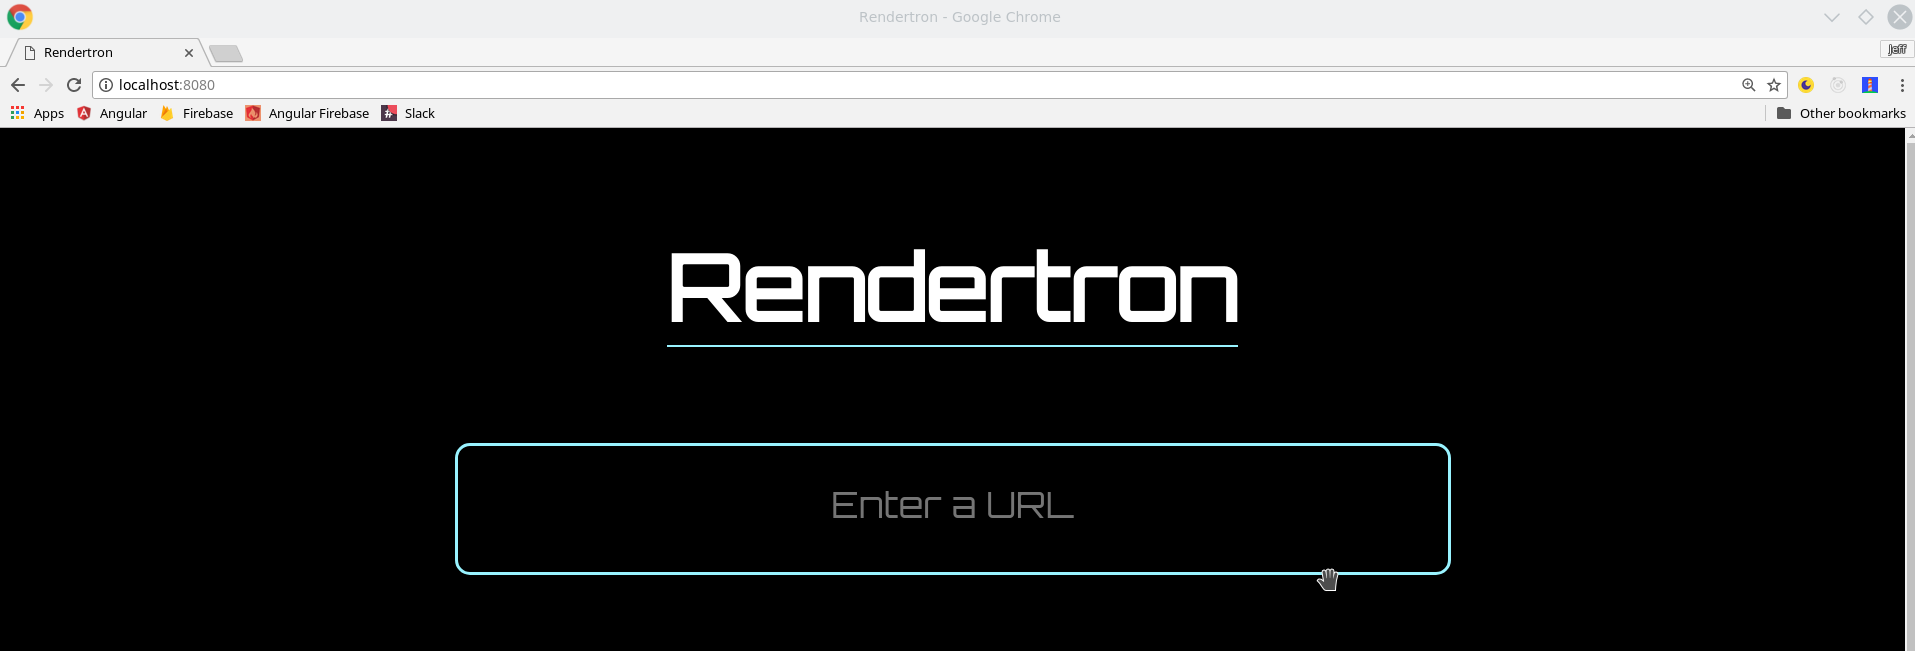
If everything went according to plan, you should have a working rendertron app at https://http://localhost:8080.
Deploying to GCP
If you have an existing Firebase project, you can easily deploy your own instance of Rendertron to GCP App Engine with a single command.
Rendertron needs to run in a custom App Engine flex environment, which is defined by its Dockerfile. You can adjust the app.yaml settings to limit the number of instances and memory to control costs. Keep in mind, you are not required to deploy to App Engine - you have a Docker container that can be deployed anywhere.
gcloud app deploy app.yaml --project YOUR-PROJECT
Setting Social Media Meta Tags in Angular
Now that we have the Rendertron server ready to go, let’s use Angular’s Meta service to dynamically generate meta tags for Facebook Open Graph and Twitter Cards. I am going to show you how to accomplish this with both static values and with backend data pulled from Firebase.
Our goal is to create a valid Twitter card (or any social media platform) that looks like this.
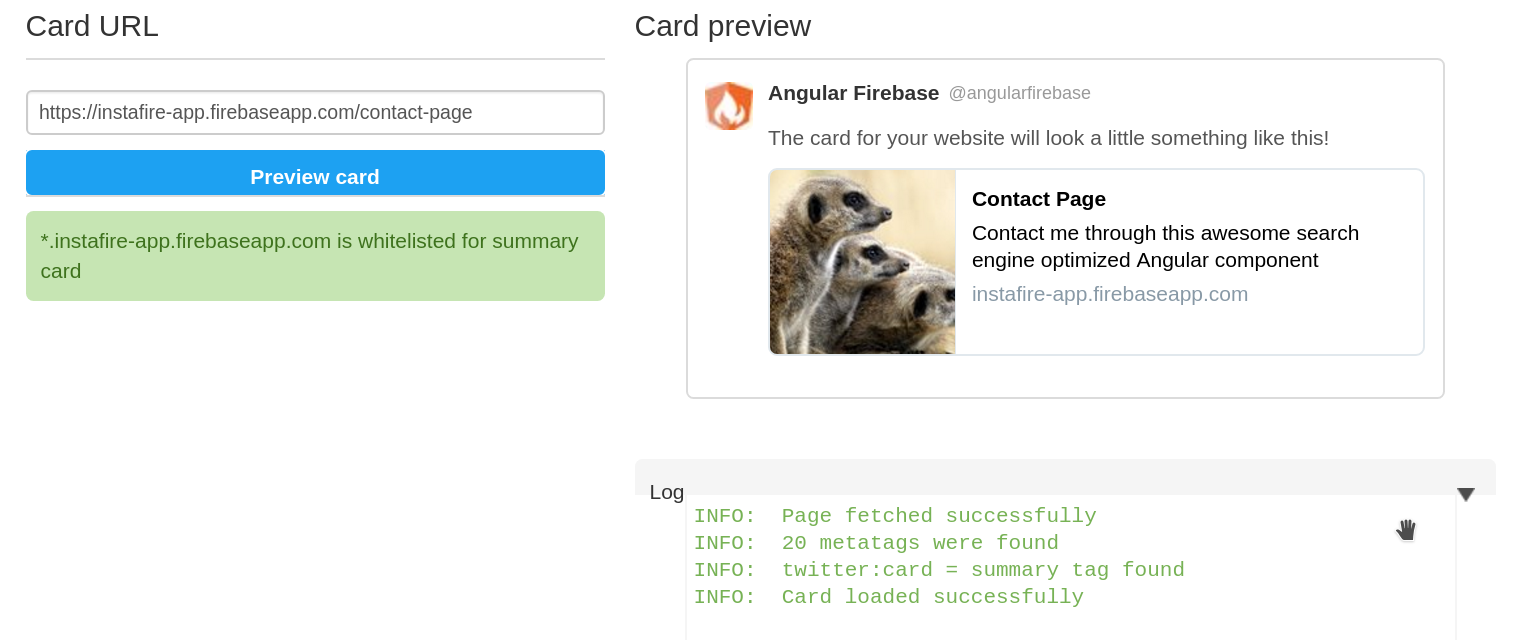
Valid Twitter Card
index.html
In addition the service, it’s a good idea to hard-code meta tags as default fallback. Their content should usually reflect the content of your home page.
Add the following tags inside the <head> of the index.html file and customize the content for your brand.
  <!-- twitter -->
  <meta name="twitter:card" content="summary">
  <meta name="twitter:site" content="@angularfirebase">
  <meta name="twitter:title" content="Home page">
  <meta name="twitter:description" content="An angular app that is actually search crawler bot friendly">
  <meta name="twitter:image" content="https://instafire-app.firebaseapp.com/assets/seo.jpeg">

  <!-- facebook and other social sites -->
  <meta property="og:type" content="article">
  <meta property="og:site_name" content="AngularFirebase">
  <meta property="og:title" content="Home Page">
  <meta property="og:description" content="Server side rendering that works with AngularFire2 - believe it">
  <meta property="og:image" content="https://instafire-app.firebaseapp.com/assets/seo.jpeg">
  <meta property="og:url" content="https://instafire-app.firebaseapp.com">
seo.service.ts
We are going to be updating these default meta tags dynamically for each component that is loaded with the router. The SeoService is a DRY and convenient place to organize this code in Angular.
ng g service seo --module app
The generateTags methods takes a configuration object as an argument, then updates all of the meta tags dynamically. If you forget to pass it a config object, it will fallback to the defaults listed below. You will most likely want to customize this service with your own config options and tags - it’s not designed to be one-size-fits-all.
import { Injectable } from '@angular/core';
import { Meta } from '@angular/platform-browser';

@Injectable()
export class SeoService {

  constructor(private meta: Meta) { }

  generateTags(config) {
    // default values
    config = {
      title: 'Angular <3 Linkbots',
      description: 'My SEO friendly Angular Component',
      image: 'https://angularfirebase.com/images/logo.png',
      slug: '',
      ...config
    }

    this.meta.updateTag({ name: 'twitter:card', content: 'summary' });
    this.meta.updateTag({ name: 'twitter:site', content: '@angularfirebase' });
    this.meta.updateTag({ name: 'twitter:title', content: config.title });
    this.meta.updateTag({ name: 'twitter:description', content: config.description });
    this.meta.updateTag({ name: 'twitter:image', content: config.image });

    this.meta.updateTag({ property: 'og:type', content: 'article' });
    this.meta.updateTag({ property: 'og:site_name', content: 'AngularFirebase' });
    this.meta.updateTag({ property: 'og:title', content: config.title });
    this.meta.updateTag({ property: 'og:description', content: config.description });
    this.meta.updateTag({ property: 'og:image', content: config.image });
    this.meta.updateTag({ property: 'og:url', content: `https://instafire-app.firebaseapp.com/${config.slug}` });
  }

}
Setting Meta Tags in a Component
Now that we have a working service let’s put it to use in the components.
contact-page.component.ts
It’s as easy as calling the generateTags method when the component is initialized. If you open dev tools, you should see the meta tags change when navigating between routes.
import { Component, OnInit } from '@angular/core';
import { SeoService } from '../seo.service';

@Component({
  selector: 'contact-page',
  templateUrl: './contact-page.component.html',
  styleUrls: ['./contact-page.component.sass'],
})
export class ContactPageComponent implements OnInit {

  constructor(private seo: SeoService) { }

  ngOnInit() {

    this.seo.generateTags({
      title: 'Contact Page',
      description: 'Contact me through this awesome search engine optimized Angular component',
      image: 'https://instafire-app.firebaseapp.com/assets/meerkat.jpeg',
      slug: 'contact-page'
    })
  }

}
You can leave the component HTML unchanged, it has no impact on the meta tag rendering for linkbots.
firebase-demo.component.ts
To round out a complete solution, let’s show Firebase data to search engine crawlers and linkbots.
If you were planning on using Angular Universal server-side-rendering with AngularFire2 - good luck to you. These two libraries are not compatible and I have no idea if there is a good plan to make the two play well together. That’s why I am so excited about Headless Chrome.
Amazingly, you don’t have to do anything special here. Just subscribe to the Firebase data during NgOnInit and use its emitted values to update the metatags. Rendertron will wait for this activity to complete, then display the dynamic data to bots.
import { Component, OnInit } from '@angular/core';
import { SeoService } from '../seo.service';
import { AngularFireDatabase, AngularFireObject } from 'angularfire2/database';
import { Observable } from 'rxjs/Observable';
import 'rxjs/add/operator/take';

@Component({
  selector: 'firebase-demo',
  templateUrl: './firebase-demo.component.html',
  styleUrls: ['./firebase-demo.component.sass']
})
export class FirebaseDemoComponent implements OnInit {

  ref: AngularFireObject<any>;
  data$: Observable<any>;

  constructor(private seo: SeoService, private db: AngularFireDatabase) { }

  ngOnInit() {
    const ref = this.db.object('demo')
    this.data$ = ref.valueChanges()

    this.data$.take(1).subscribe(data => {
      this.seo.generateTags({
        title: data.title,
        description: data.description,
        image: data.image,
        slug: 'firebase-page'
      })
    })
  }

}
Up Next
At this point, your app should be displaying meta tags, but we still need a way to handle incoming traffic and choose the appropriate rendering technique.
The next step is to configure the middleware that can filter traffic based on whether it’s a bot or a real human. You can configure this on any server, but we are going to use Firebase Cloud Functions so it can be easily integrated with Firebase hosting.
Let’s keep it moving -> Angular SEO Part 2