
ML Engine Tutorial with Python
Building a predictive model is only half the battle when it comes to machine learning - you also need a way for clientside apps to consume it and add value to the user experience. Today we’re going to wire up a collection of Google Cloud services to train and deploy a Python-based ML model to the cloud. The following lesson is designed for product-minded developers who want to get an idea of the end-to-end ML process in the cloud. Here’s a quick summary of our milestones:
- Setup Datalab
- Build a custom machine learning model with Python and Scikit Learn
- Deploy it to Cloud ML Engine
- Expose it as a public API via Firebase Cloud Functions
Looking to train your data in a Firebase Cloud Function with TensorFlow.js? Checkout this [Radi Cho's demo](https://github.com/radi-cho/tfjs-firebase).
Setting Up Datalab
Datalab is an environment built on top of Google Compute Engine that allows you to stream your cloud data directly to a Python Jupyter Notebook with virtually unlimited compute resources. This means you can spin up a GPU-powered cloud supercomputer from your laptop, then shut it down in a few hours when you’re done.
Follow the QuickStart Guide, which boils down to the following commands.
gcloud components update
gcloud components install datalab

datalab create my-awesome-datalab
After running the commands, you should be able to access your notebook environment via localhost:8081
Datalab Python notebook
Firebase Python Admin SDK
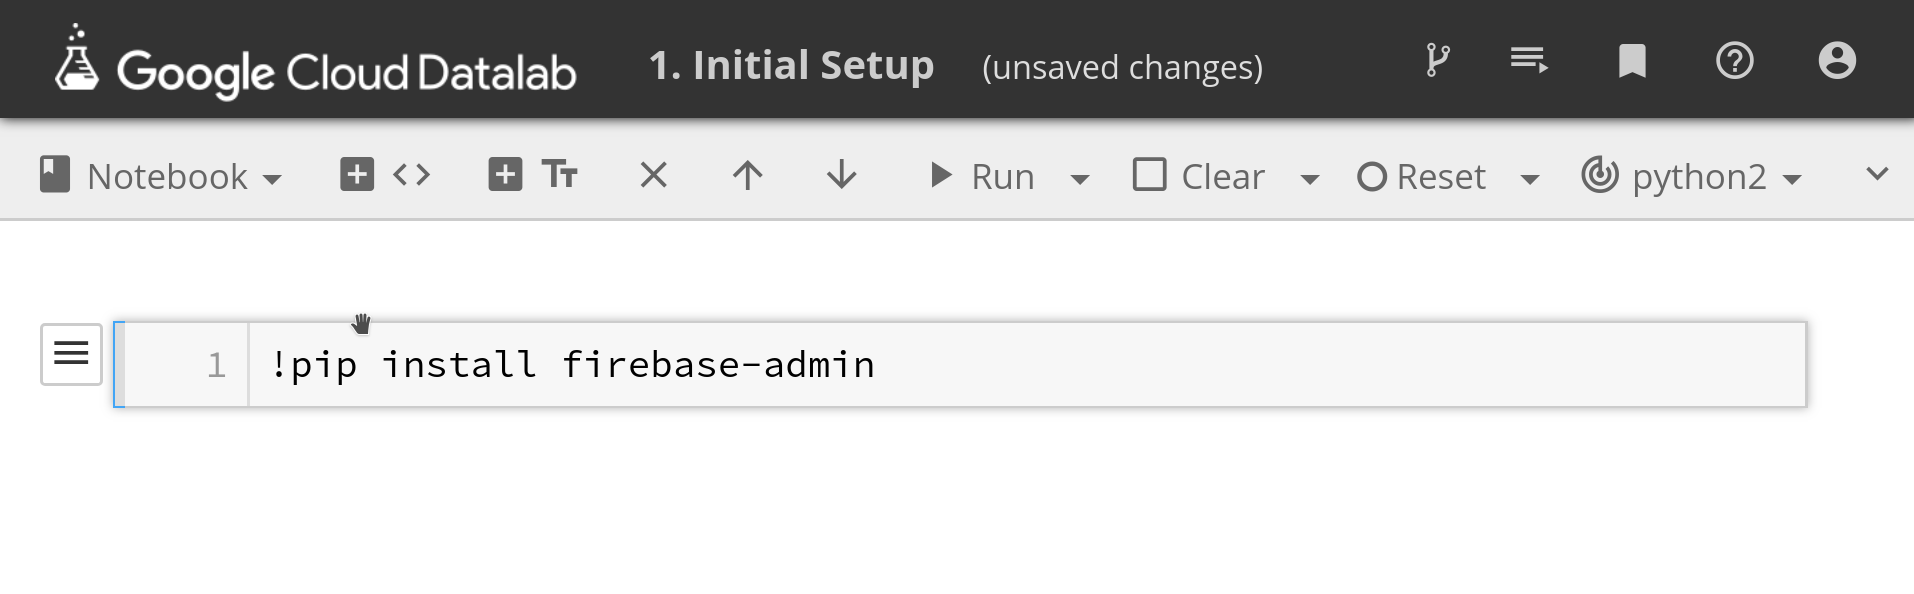
The only thing missing from the datalab environment is the Firebase Admin SDK. You can install packages in the datalab by running pip install
!pip install firebase-admin
Enable the ML Engine API
Next, go to the Firebase dashboard and download your service account from project settings, then save it to the datalab environment.
Python Data Analysis
Now that we have datalab running, it’s time to start filling our notebook with some python code.
1. Load Firestore Data into Datalab
We need to load our data from Firestore into a Pandas dataframe suitable for ML. For this demo, I have generated synthetic data that is half random and half fixed. The goal is to build a model that can find the signal hidden within the noise/randomness.
import pandas as pd
import numpy as np
from numpy.random import choice, randint
import matplotlib.pyplot as plt

import firebase_admin
from firebase_admin import credentials
from firebase_admin import firestore

cred = credentials.Certificate('service-account.json')
app = firebase_admin.initialize_app(cred)
db = firestore.client()

print('initialized')
With the dependencies imported, we can then generate some random data and save it to the database. Keep in mind, saving this data is completely optional - I’m only doing it to simulate a real-world machine learning problem.
devs = db.collection('developers')


# Optional: Seed the Database

languages = {
  u'python': 50,
  u'rust': 25,
  u'typescript': 10,
  u'javascript': 0,
  u'coffescript': -10,
  u'elm': -2,
  u'cobol': -50
}


for i in range(0, 200):
    dev = {
        'firebase': randint(0, 2),
        'language': choice(list(languages.keys())),
        'age': randint(10, 99)
      }

    r = randint(-25, 25)
    dev['happiness'] = r + languages[dev['language']] + (25 if dev['firebase'] else -25)

    devs.add(dev)


docs = devs.get()
data = []
for doc in docs:
    data.append(doc.to_dict())
    df = pd.DataFrame(data)

df.to_csv('data.csv', index=False)
2. Exploratory Analysis
It’s always best to start with an exploratory data analysis to gain a better understanding. Pandas provides a variety of methods to explore the data.
df = pd.read_csv('data.csv')
df.sample(10)


##
df['happiness'].plot.hist()

##
df.describe()
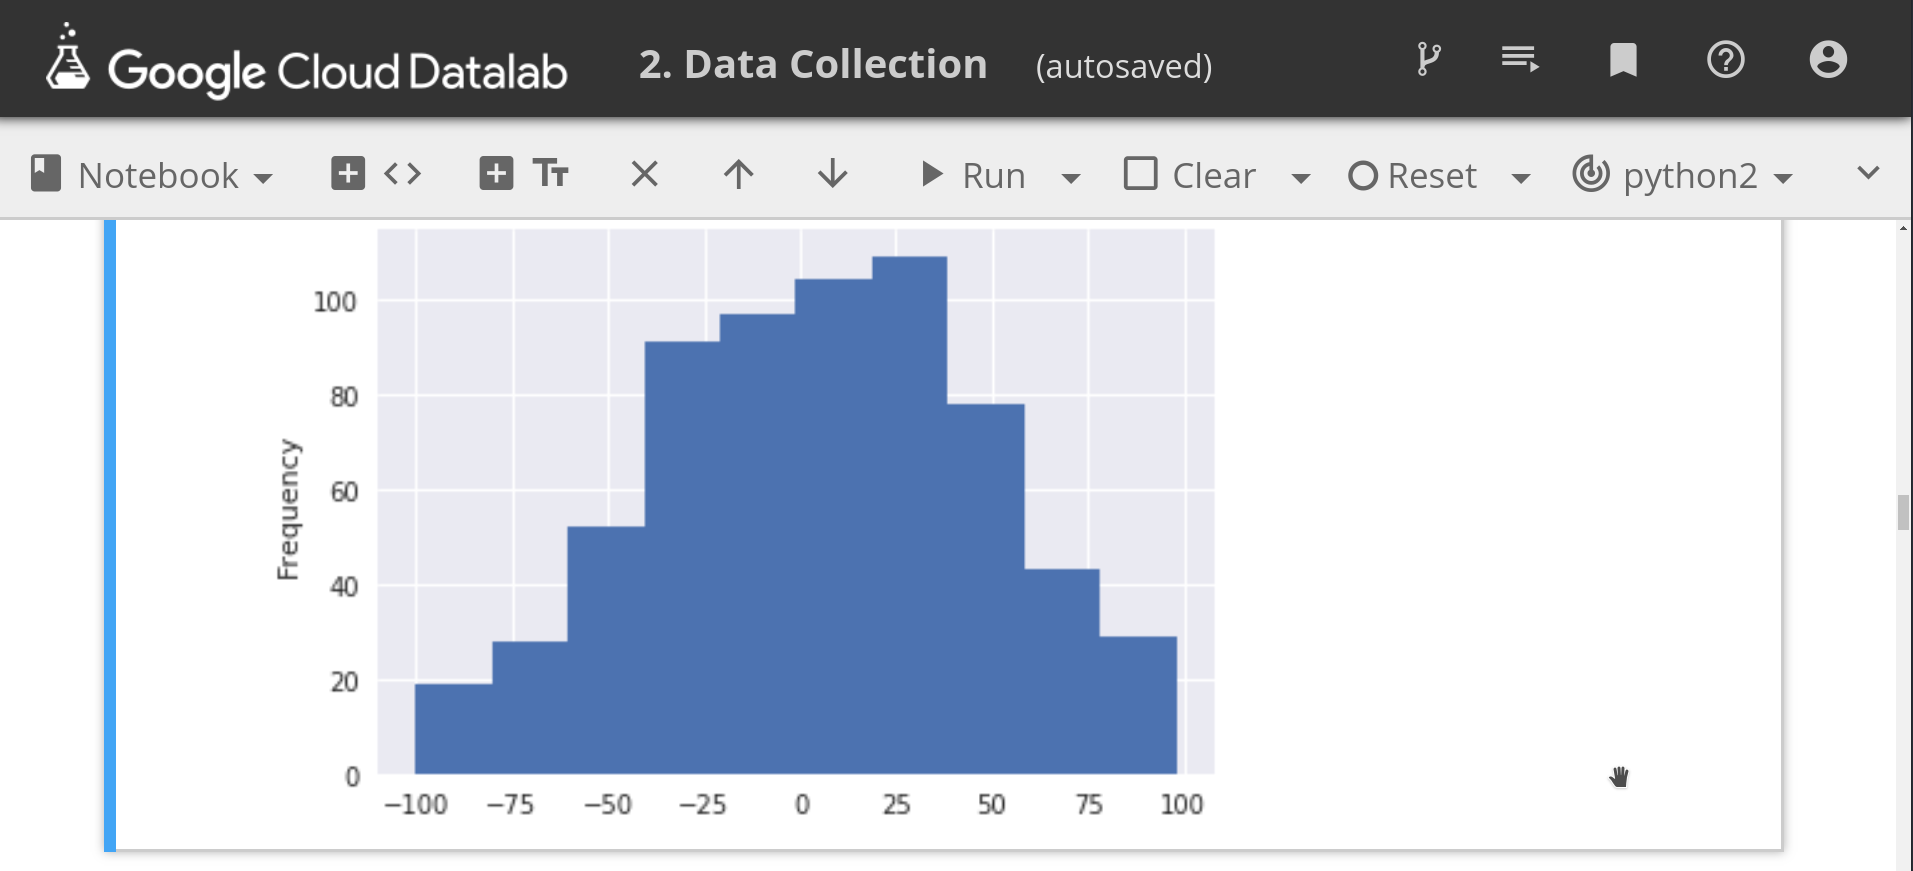
Showing a histogram in DataLab
3. Train a Scikit Learn Random Forest
Now we’re ready for the fun part - training the model. To make our data suitable for training, we need to encode any string columns to numeric values and split it into training/validation sets.
# Encoding to Numeric
from sklearn.model_selection import train_test_split
from sklearn.preprocessing import LabelEncoder

le = LabelEncoder()
df['language'] = le.fit_transform(df['language'])


# Train / Test Split
x = df.drop(labels='happiness', axis=1)
y = df['happiness']

X_train, X_test, y_train, y_test = train_test_split(x, y, test_size=0.33, random_state=23)
For our simple use case we will use a Random Forest algorithm, which usually does well out of the box.
from sklearn.ensemble import RandomForestRegressor
from sklearn.metrics import mean_absolute_error

model = RandomForestRegressor(max_depth=3, random_state=23, n_estimators=500)
model.fit(X_train, y_train)

preds = model.predict(X_test)

print("Model Mean Absolute Error MAE {}".format(mean_absolute_error(y_test, preds)))
4. Save the Model to Firebase Storage
Now that our model is trained, we need to save it in a Storage Bucket to so it can be picked up by ML Engine in the next step.
from sklearn.externals import joblib
from firebase_admin import storage

joblib.dump(model, 'model.joblib')
bucket = storage.bucket(name='your-bucket-path')

b = bucket.blob('happy-v1/model.joblib')
b.upload_from_filename('model.joblib')
print('model uploaded!')
Deploy to Google Cloud ML Engine
Our model is saved in Google Cloud Storage, allowing us to connect it to ML engine.
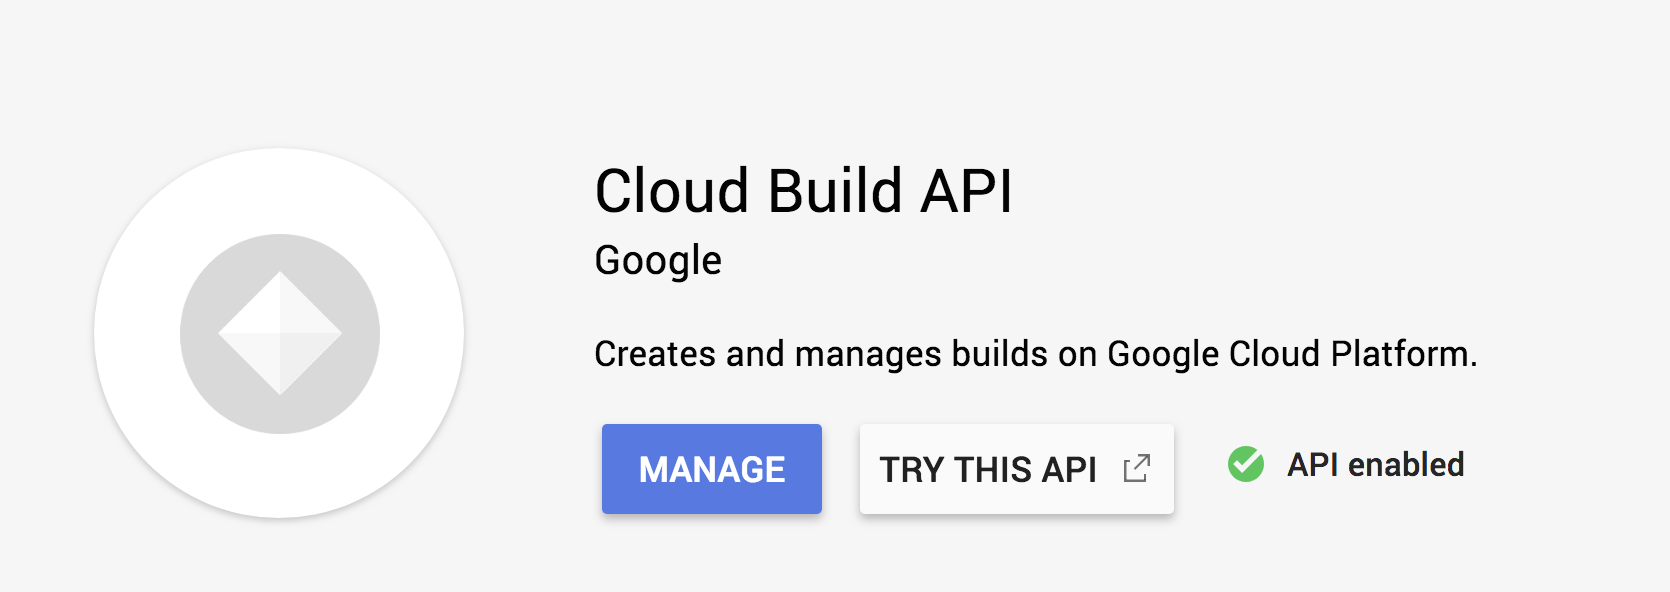
Enable the Required APIs
Go into the GCP console and enable the required Cloud Build and ML Engine APIs.
Create a Model and Version
The next part is just a matter of clicking a few buttons. On the ML engine console we need to (1)create a model, then (2) create a version of it that points to the joblib file in the storage bucket from the previous section.
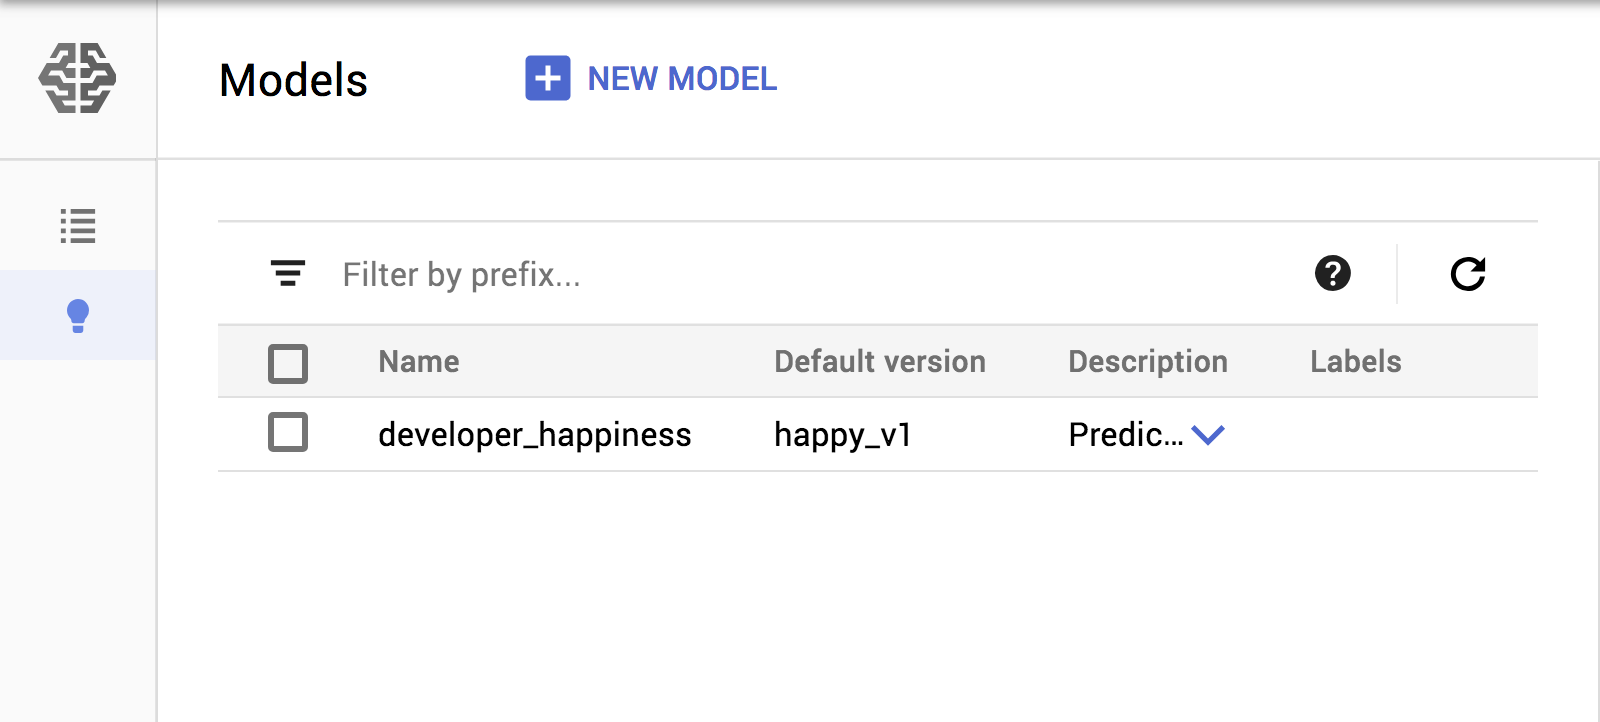
Create a model and version on ML Engine
Predict from a Firebase Cloud Function
It’s finally time to share our ML Engine model with the universe by exposing it as an API endpoint via Firebase Cloud Functions.
firebase init functions
import * as functions from 'firebase-functions';

import { google } from 'googleapis';
const ml = google.ml('v1')

export const predictHappiness = functions.https.onRequest(async (request, response) => {

    const instances = request.body.instances;
    const model = request.body.model;

    const { credential } = await google.auth.getApplicationDefault();
    const modelName = `projects/YOUR-PROJECT/models/${model}`;

    const preds = await ml.projects.predict({
        auth: credential,
        name: modelName,
        requestBody: {
            instances
        }
    } as any);

    response.send(JSON.stringify(preds.data))

});
Now you can make calls to this API to get predictions in matter of milliseconds directly from your clientside apps.
The End
Datalab gives you an environment to analyze data and train predictive models, while ML Engine makes is much easier to maintain and release production versions to the cloud. When you combine these tools with Firebase you get a fullstack solution for building real-world AI products.