
Web Development Setup Guide for Windows with Linux (WSL)
Historically, Windows has not been been the preferred OS for most web developers, but things have changed over the past couple years. Microsoft recently launched Windows Subsystem for Linux or WSL (WSL2), allowing us to install REAL linux distros (like Ubuntu) on Windows 10. This means you can use Linux toolchains (bash, zsh, tmux) and apps to manage the file system and run windows apps.
Unlike a dual boot system, where two operating systems are installed on the same hard drive, WSL runs Linux in a compatibility layer that can run unmodified ELF64 binaries. The following lesson will teach you how to enable WSL and setup other important tools for web development, like Node.js, git, Docker, browsers, and more.
Linux on Windows
The following steps will install Linux in your Windows 10 environment. Also reference the official WSL install guide.
Enable Windows-Subsystem-Linux (WSL)
From the start menu, search for PowerShell and run it as an administrator.

Open PowerShell in Windows 10 as an administrator
Run the command below. It will require a full reboot of your system.
Enable-WindowsOptionalFeature -Online -FeatureName Microsoft-Windows-Subsystem-Linux
Install a Linux Distro
Open the Microsoft store and search for Linux. Choose your preferred distro - choose Ubuntu if you don’t have a preference.
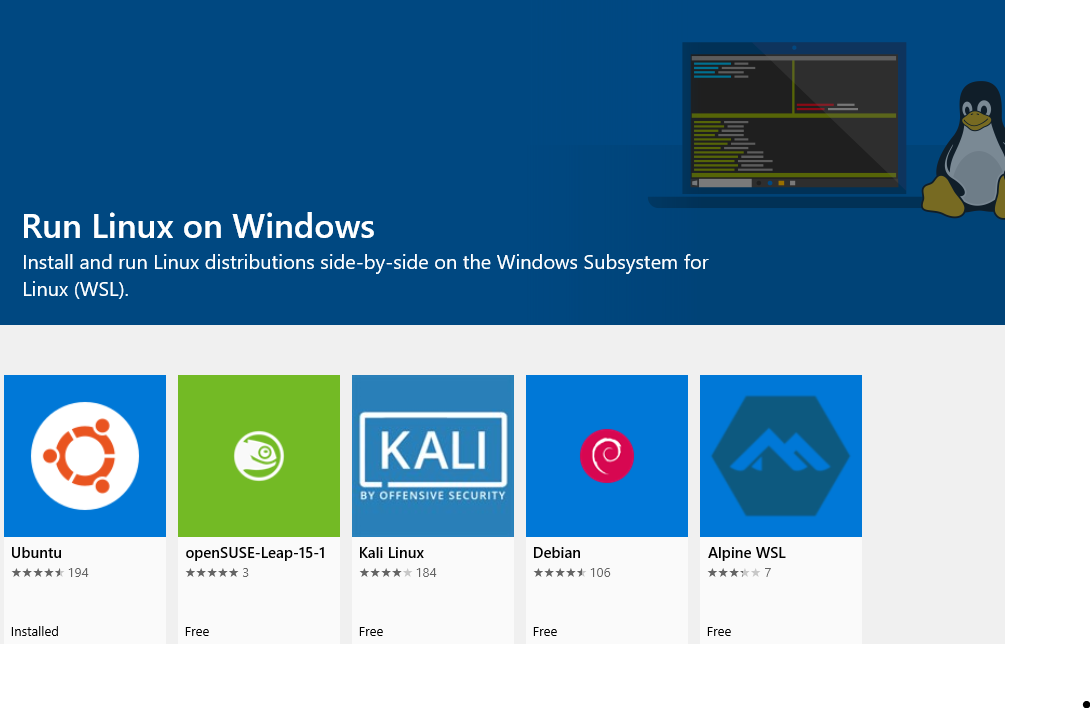
Install your favorite Linux flavor
Install Windows Terminal
Windows has a new terminal app that makes it easier to work with the command line. Install it to quickly between Linux and PowerShell sessions.

Install windows terminal and start a Linux session
You should now be able to work with the file system using the linux commands you know and love, such as:
ls # list directory contents
mkdir testing # make directory
cd testing # move into directory
touch somefile.txt # create a file
cat somefile.txt # read a file
vim somefile.txt # edit a file with vim
code somefile.txt # edit a file with vscode
Update the Linux
Keeping the kernel up to date would simplify your life. Just run those commands:
sudo apt update
sudo apt upgrade -y
Run the Linux Train
You can run a the famous Linux shell train with the following commands:
sudo apt-get install sl
sl
Customize the Command Line Prompt
Basic Customization
Currently the command line (bash) prompt for Ubuntu is very long jeffd23@DESKTOP-R6U97PD:/mnt/c/Users/jeffd23$. How do we shorten the command line prompt in WSL? You can change it permanently in the .bashrc file by modifying the PS1 environment variable, which is the default prompt appearance.
code ~/.bashrc # vscode
vim ~/.bashrc # vim
Below you you will find a few bash prompt examples. Add ONE of the lines to end of the file for your preferred prompt format.
export PS1="\w$ " # full working dir
export PS1="\W$ " # basename of working dir
export PS1="\u@\W $ " # username @ working dir
export PS1="[\t] \u@\h:\w\$ " # timestamp + username + host + working dir
Here are some variables commonly used in the prompt
\wfull working directory\Wbasename of the current working directory\hhostname\uusername\ttime 24-hour HH:MM:SS\Ttime 12-hour HH:MM:SS\@time 12-hour am/pm
Zsh Z-shell
As an alternative, you can gain even more control over the Linux command line with Oh My ZSH.
sudo apt install zsh
sh -c "$(curl -fsSL https://raw.githubusercontent.com/ohmyzsh/ohmyzsh/master/tools/install.sh)"

sudo apt-get install fonts-powerline
code ~/.zshrc # to customize it
Change the ZSH_THEME="random". Your terminal sessions should be looking very fancy. Now hit ctrl+shift+3 to cycle through different options.
VS Code with WSL
With WSL installed, we need to to connect it VS Code.
Install the Remote WSL Extension
The Remote WSL extension makes it possible to use Linux (WSL) as your dev environment in VS Code.
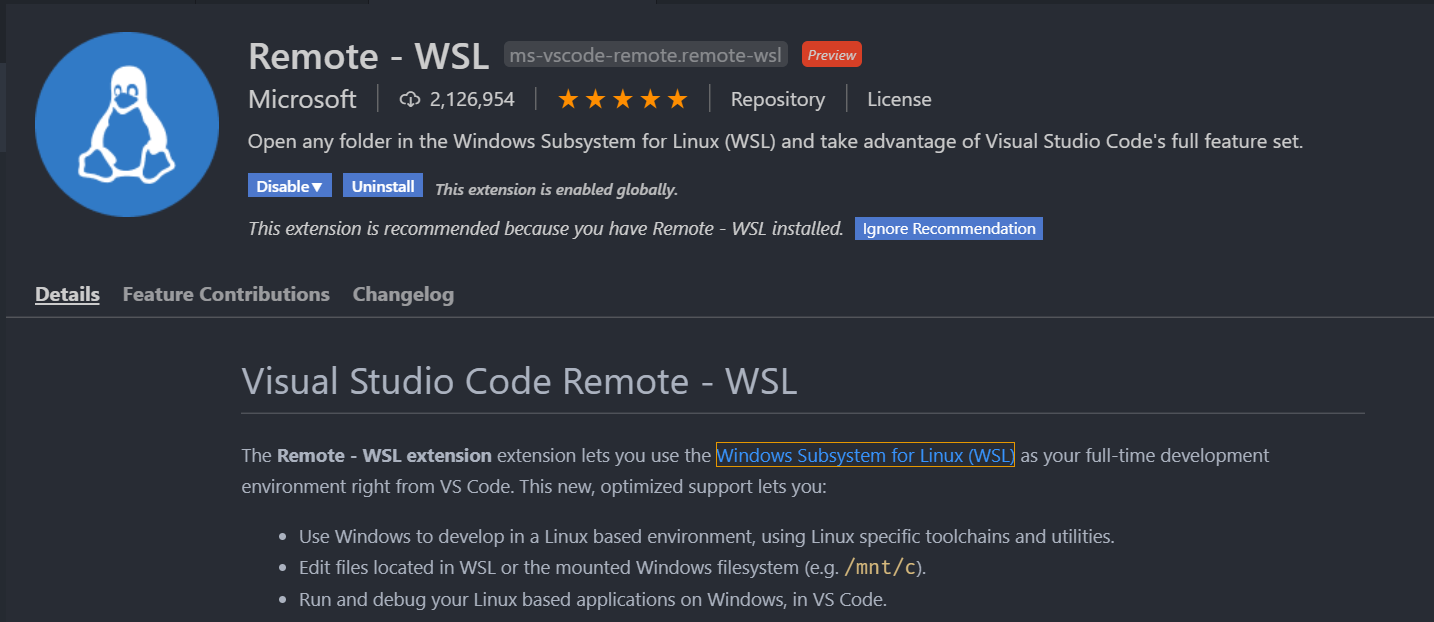
Remote WSL extension
Node.js & NPM
As a web developer you need Node.js. You can manage multiple versions with NVM.
Bash Install
If using bash, install NVM like so:
curl -o- https://raw.githubusercontent.com/nvm-sh/nvm/v0.38.0/install.sh | bash
Zsh Install
If using Zsh, open the ~/.zshrc file and update the plugins:
plugins=(git nvm)
Install Node
Install the recommended LTS version of Node. It will automatically install NPM and Node.
nvm install --lts

node -v
npm -v
Git
Install the latest version of git.
sudo apt install git
git --version
Cache Remote Login Credentials
If you work with Github it can be useful to cache your git credentials to avoid typing your username/password on every remote push.
git config --global user.name "Jeff Delaney"
git config --global user.email "hello@fireship.io"
git config --global credential.helper cache --timeout=3600
GitHub CLI
The GitHub CLI allows you to manage remote repos, view issues, and other useful tasks on GitHub from the command line. Follow the install instructions for Ubuntu.
You now have access to the gh command For example, fetch a list of all the issues in a repo:
gh issue list --repo fireship-io/fireship.io
Docker
Docker containers can be managed from Windows, but connecting them to Linux requires some extra work. Improved interoperability is coming soon (May 2020) in WSL2.
Windows Docker Desktop
If you have Windows 10 PRO you can install Docker Desktop to run virtual machines natively on Windows. The desktop app makes it very easy to manage containers and search through their logs. When WSL2 becomes generally available, you can enable Linux support by ticking the box below.
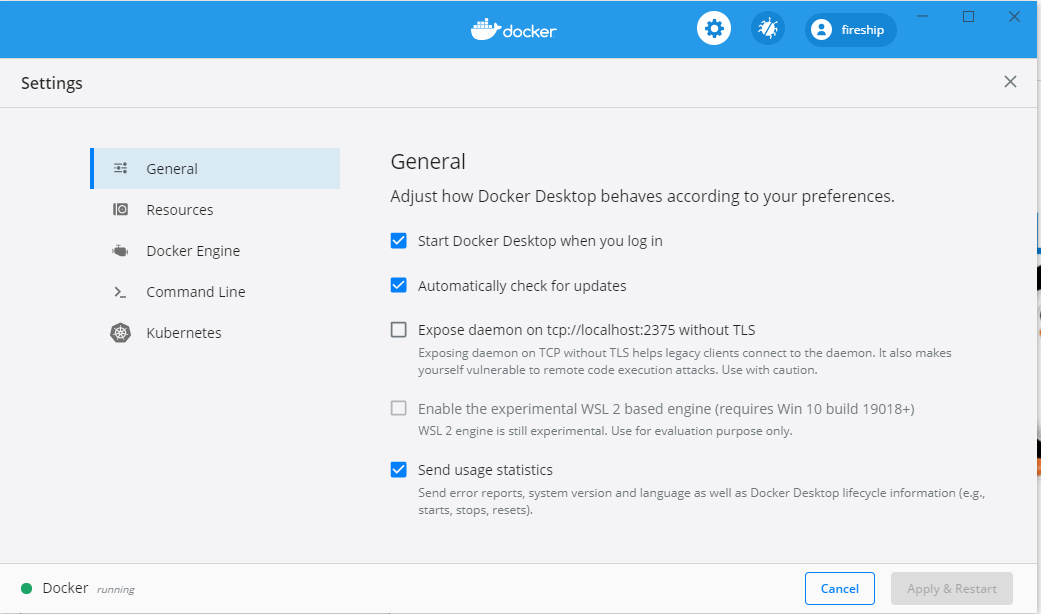
Docker Desktop. Notice the WSL2 option
Browsers
As a web developer, you should also have a variety of browsers installed on your system. At the very least, I recommend the following:
- Google Chrome - Best for JS Debugging
- Mozilla Firefox - Best for CSS Debugging
- Brave - See how your site behaves on a privacy-conscious environment